


Overview
This article will explain how to host a website using Route 53 and S3. CloudFront and Certificate Manager are also needed to host a website with a valid SSL certificate.
Materials
AWS:
Route 53
S3
CloudFront
Certificate Manager
HTML
Procedure
What is Route 53
Route 53 is a DNS service (1). This service allows a user to check for available domain names to purchase them. Every domain name can only be owned by one user.
Using the Route 53 Service to Buy a Domain
- Go to Route 53
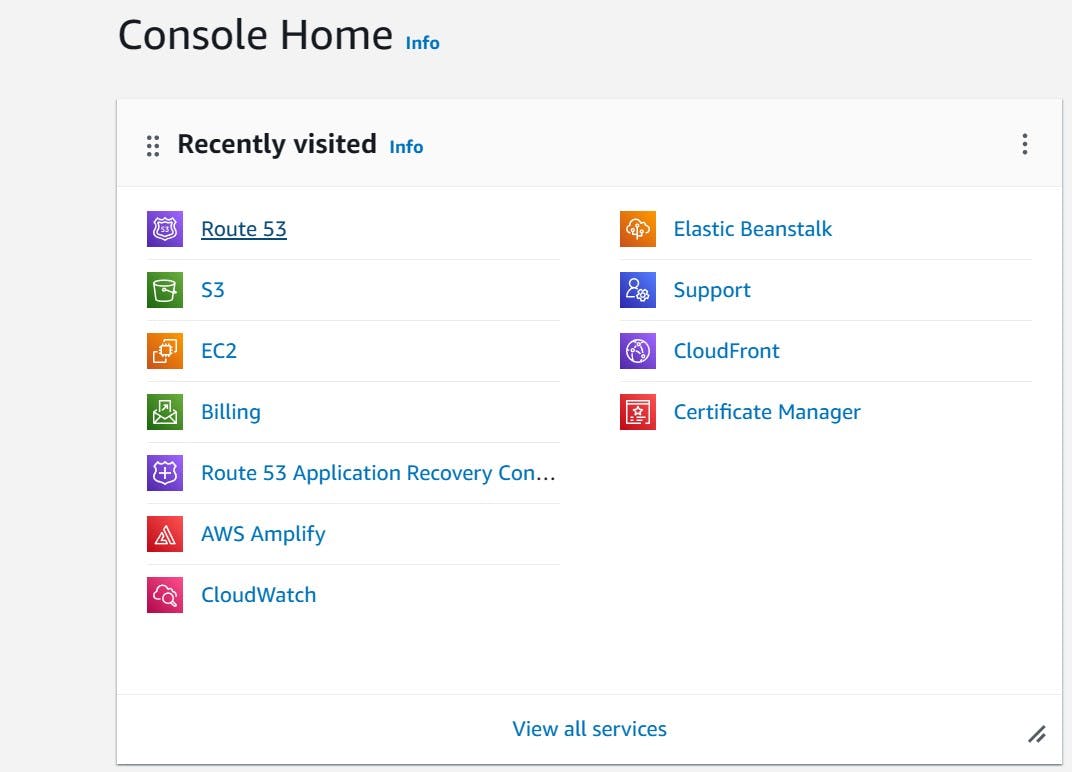
- On the Route 53 Dashboard, before buying a DNS for the website, the "Register Domain" feature can be used to validate if the DNS is not taken yet.


After checking for the domain, the "Search result" will show if it is available
When buying a domain, there is an auto-renew option. After buying the domain, it is only valid for 1 year. By enabling auto-renew, the domain is repaid every year on the same day when it was originally purchased to keep custody of it.
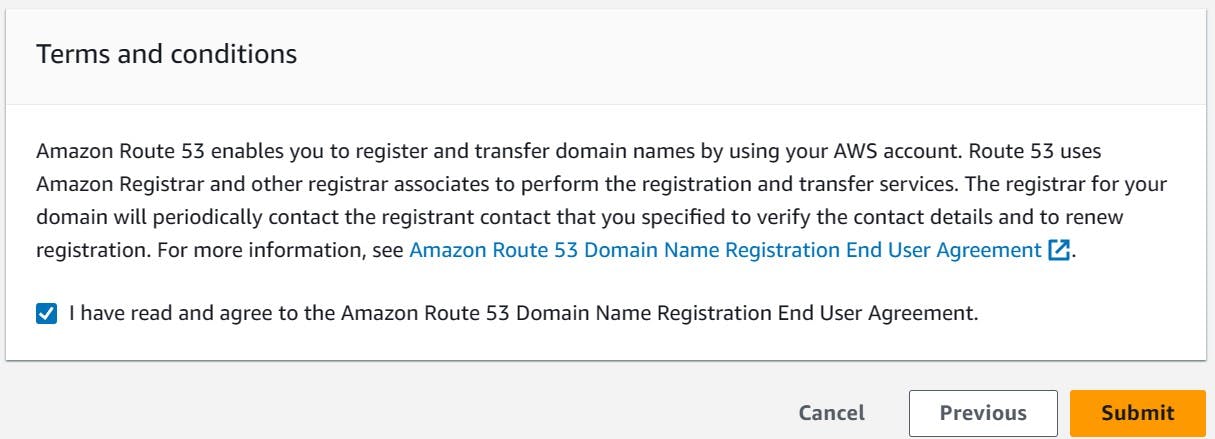
After giving your contact information and rechecking that all the information you provided is right, agree to the "Terms and conditions"
- After buying the domain, it takes a few minutes to appear in AWS. Once it finishes, you will receive an email notification that you have custody of this domain.

What is S3
S3 stands for Simple Storage Service and it is responsible for creating buckets that hold many files or objects in a secure accessible place (2). S3 also has the option to deploy websites.
Using the S3 Services
- In this procedure, two S3 buckets must be made
Making the First S3 Bucket
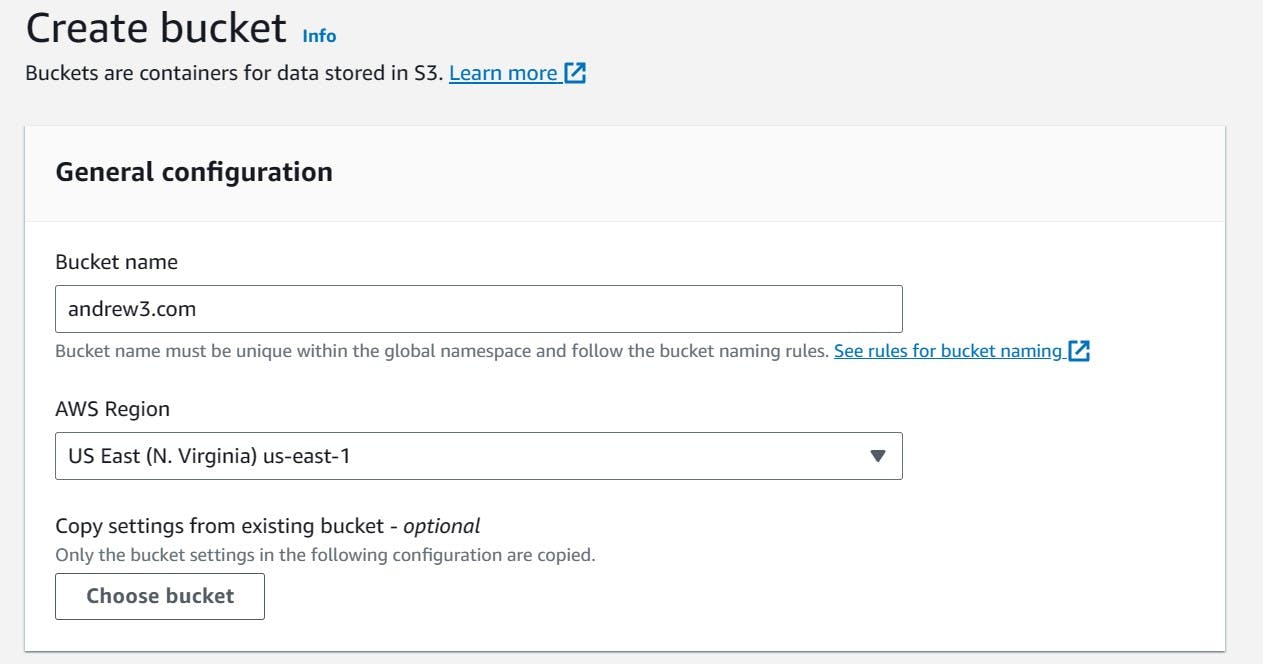
- The first bucket must be named the same as the registered domain
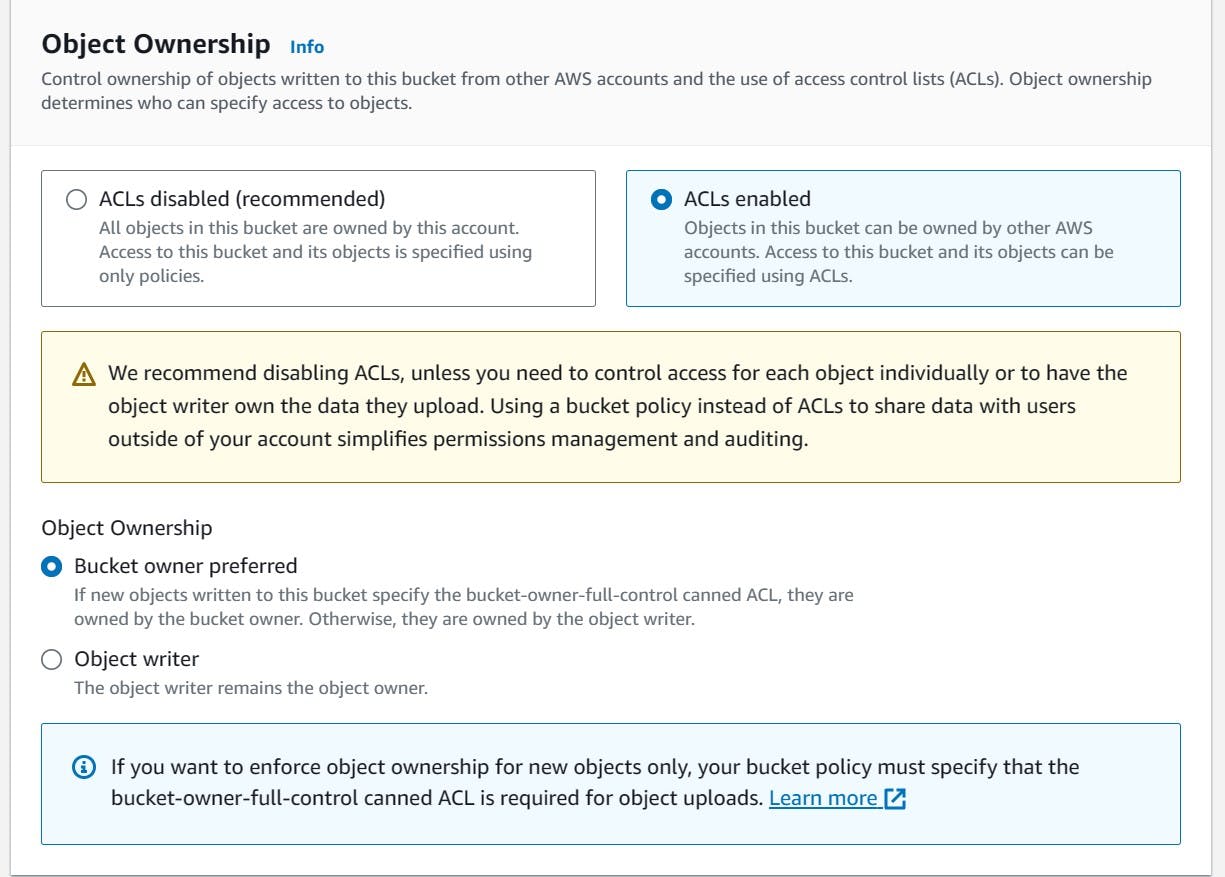
- ACLs must be enabled. ACL stands for Access Control List and is responsible for allowing traffic to certain IP addresses or websites. By enabling ACLs, other people can view the files in the bucket to display the website. When customizing the S3, as stated before, files can be uploaded for it to be viewed by others.
- Uncheck "Block all public access" to allow for any user to view any files and allow ACL's. Afterward, read all the rules to also acknowledge the current settings in the bucket will become public.

Configuring the First Bucket
- Enable "Static website hosting". This will make the bucket generate a website URL.

- Use the following configurations below

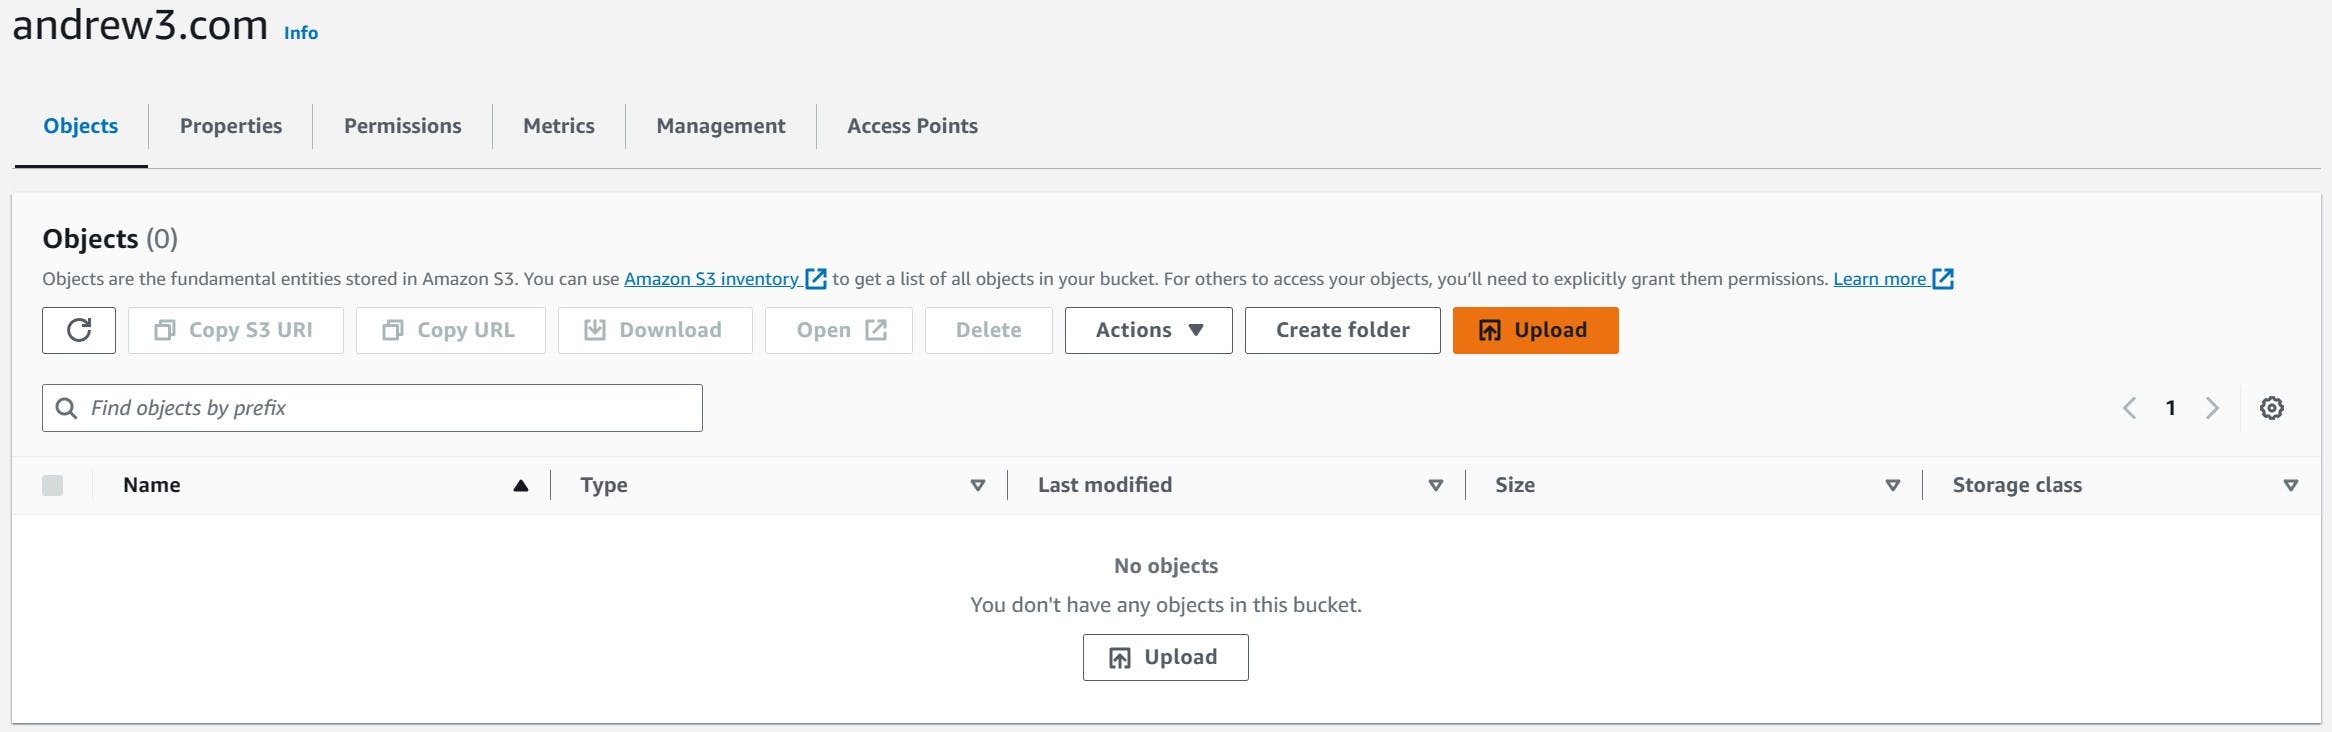
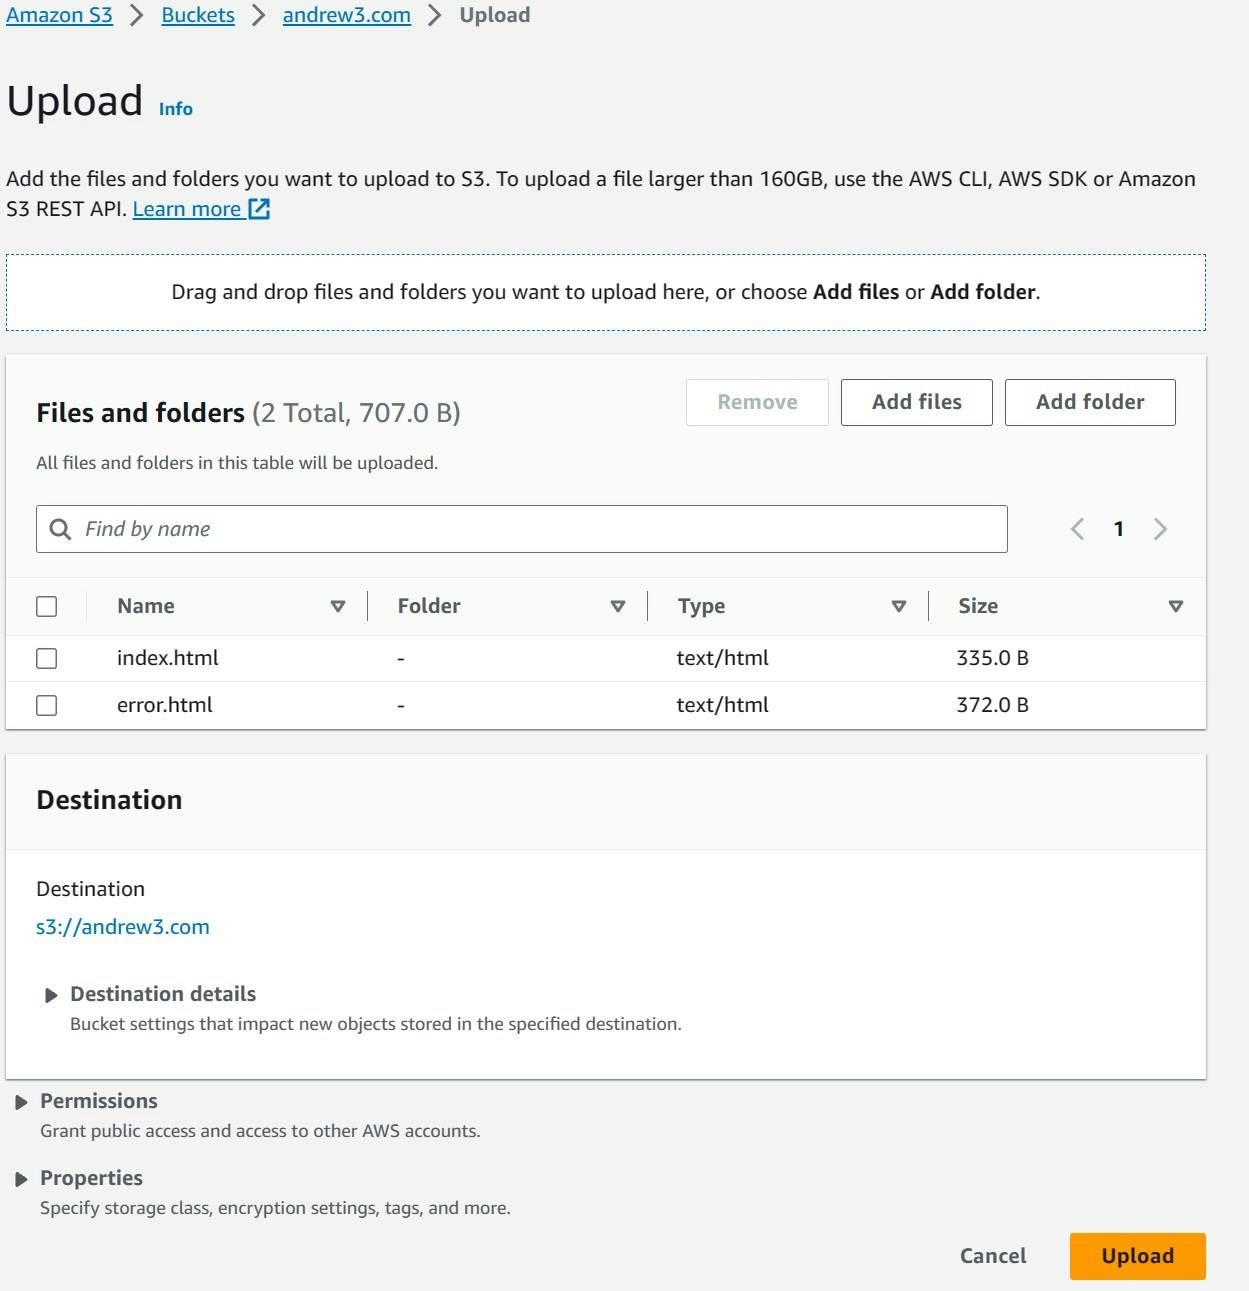
By default, the names for the homepage and error html pages are "index.html" and "error.html". These files can be given any name as long as it has the ".html" extension and the bucket can read them.
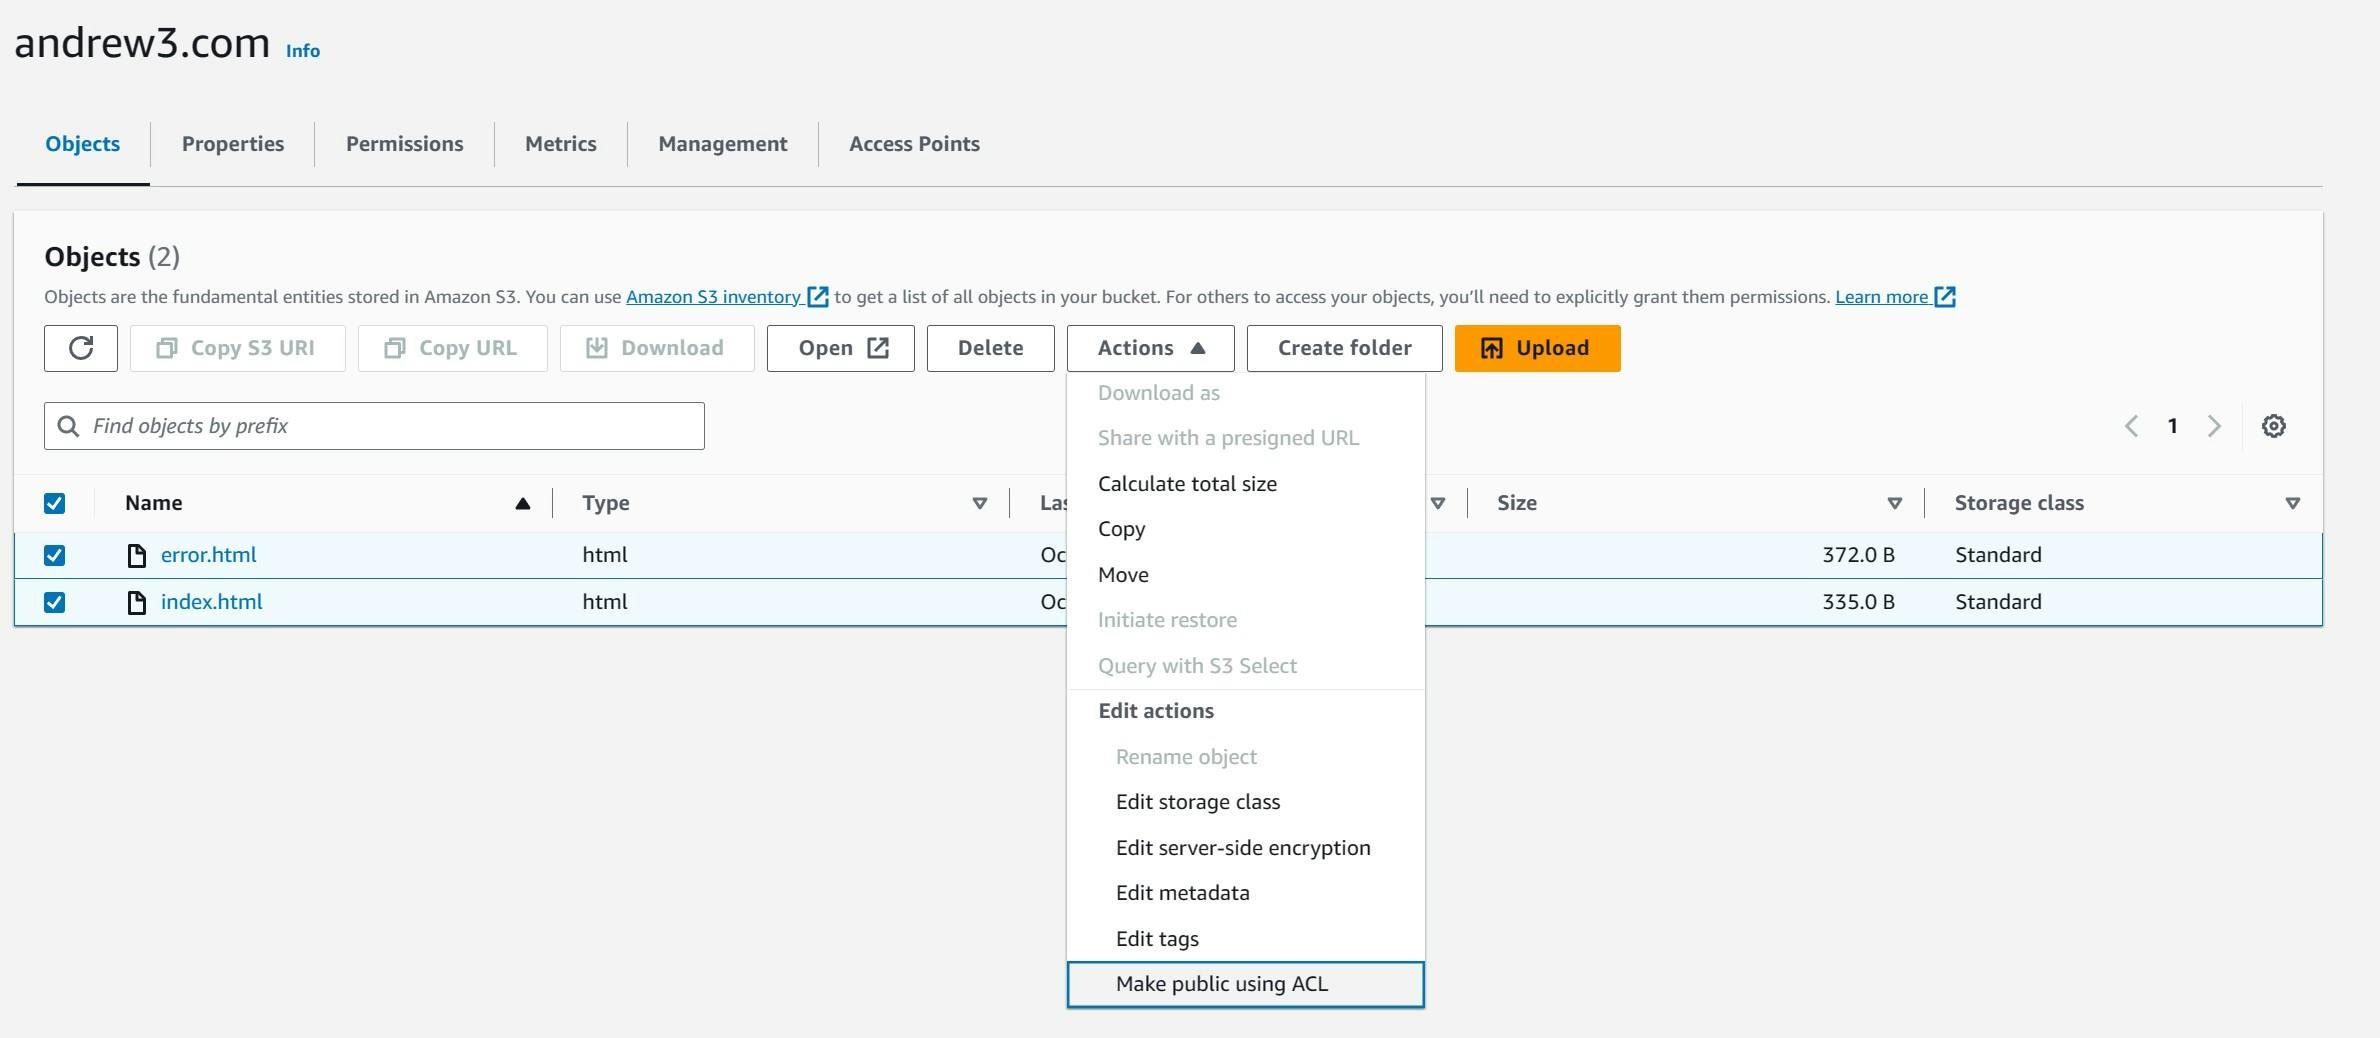
Upload the homepage and error html files to the bucket, and make these files public using ACL.
Making the Second Bucket
Create a second bucket that has the same configurations and name it "domain.extension". Any requests to this website will display and reroute to the content and url of the first bucket.
Afterward, go to Properties

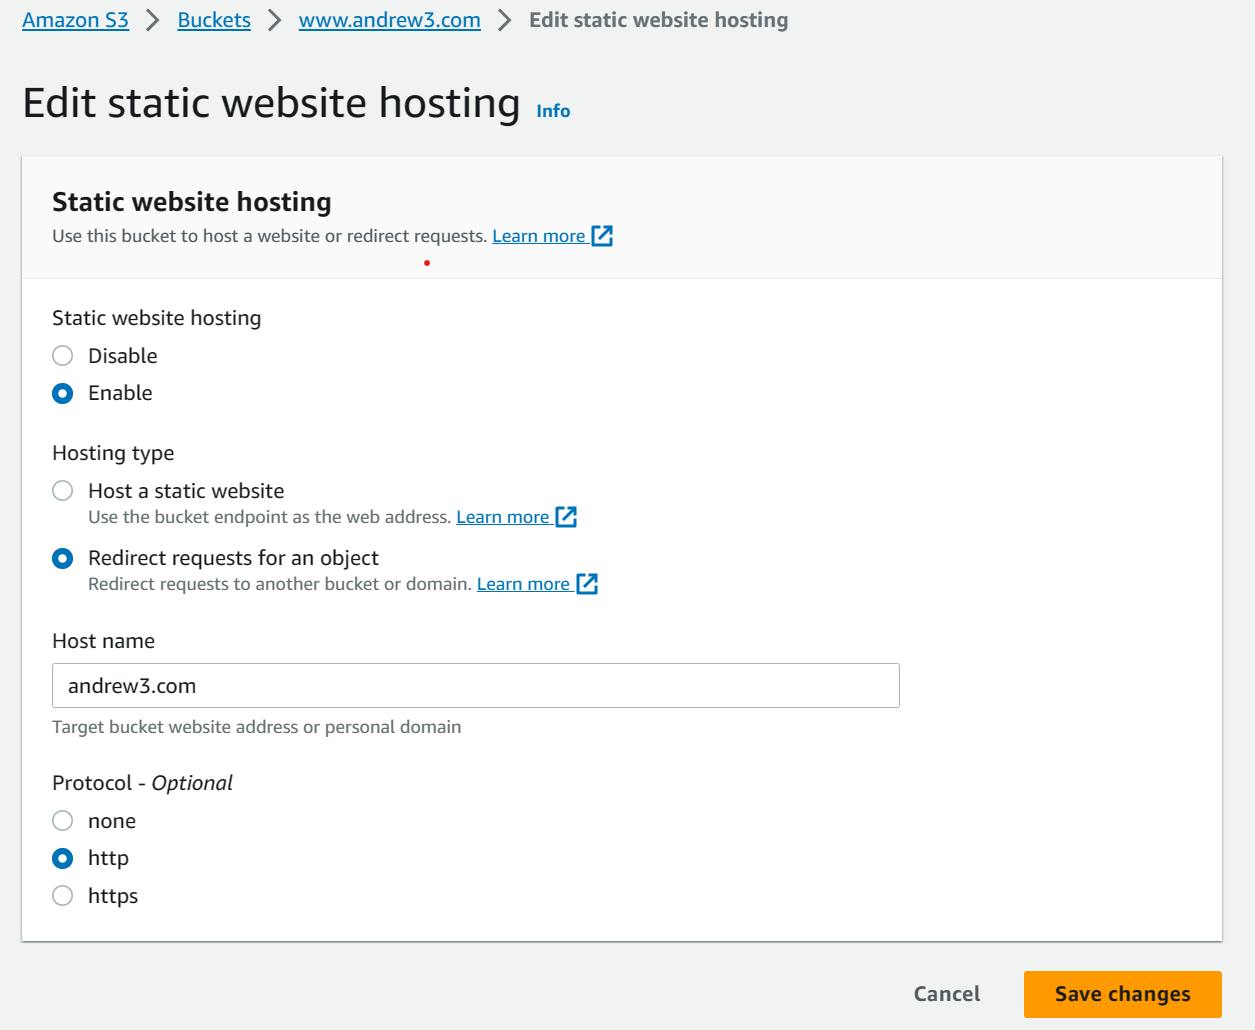
- Click "Edit" for "Static website hosting"

- Enable static website hosting and choose "Redirect requests for an object". Any requests that are made to visit the bucket with "www." in the internet browser will now be redirected to go to the first or root bucket. It will go to the first bucket since the "Host name" specifies the name of the bucket that it will be redirected to. For the protocol, choose "http". There is no valid certificate that allows the website to be read as "HTTPS", but that can be configured with CloudFront and Certificate Manager.
- After configuring the buckets, select them and go to "Permissions". The "Access Control List" shows the rules for the owner and other users. Only the owner should be able to edit the files, but everyone else should be able to view the files or the website.
Website:

index.html:

error.html:

The websites are publicly available on the internet but it does not have a valid SSL certificate. Additional configurations by using CloudFront and Certificate Manager can be used to deploy the website with a valid SSL certificate.
Route 53: Configuring a S3 Website with a SSL Certificate by using Certificate Manager and CloudFront
What is Certificate Manager
- Certificate Manager is a service that provides SSL or TLS certificates to HTTP websites. (4)
What is CloudFront
- CloudFront is a service that displays content faster by using edge locations. (5) Edge locations are scattered across the world that can be used by AWS's infrastructure to deliver content faster to its users globally.
Certificate Manager Configurations
- Enter AWS Certificate Manager
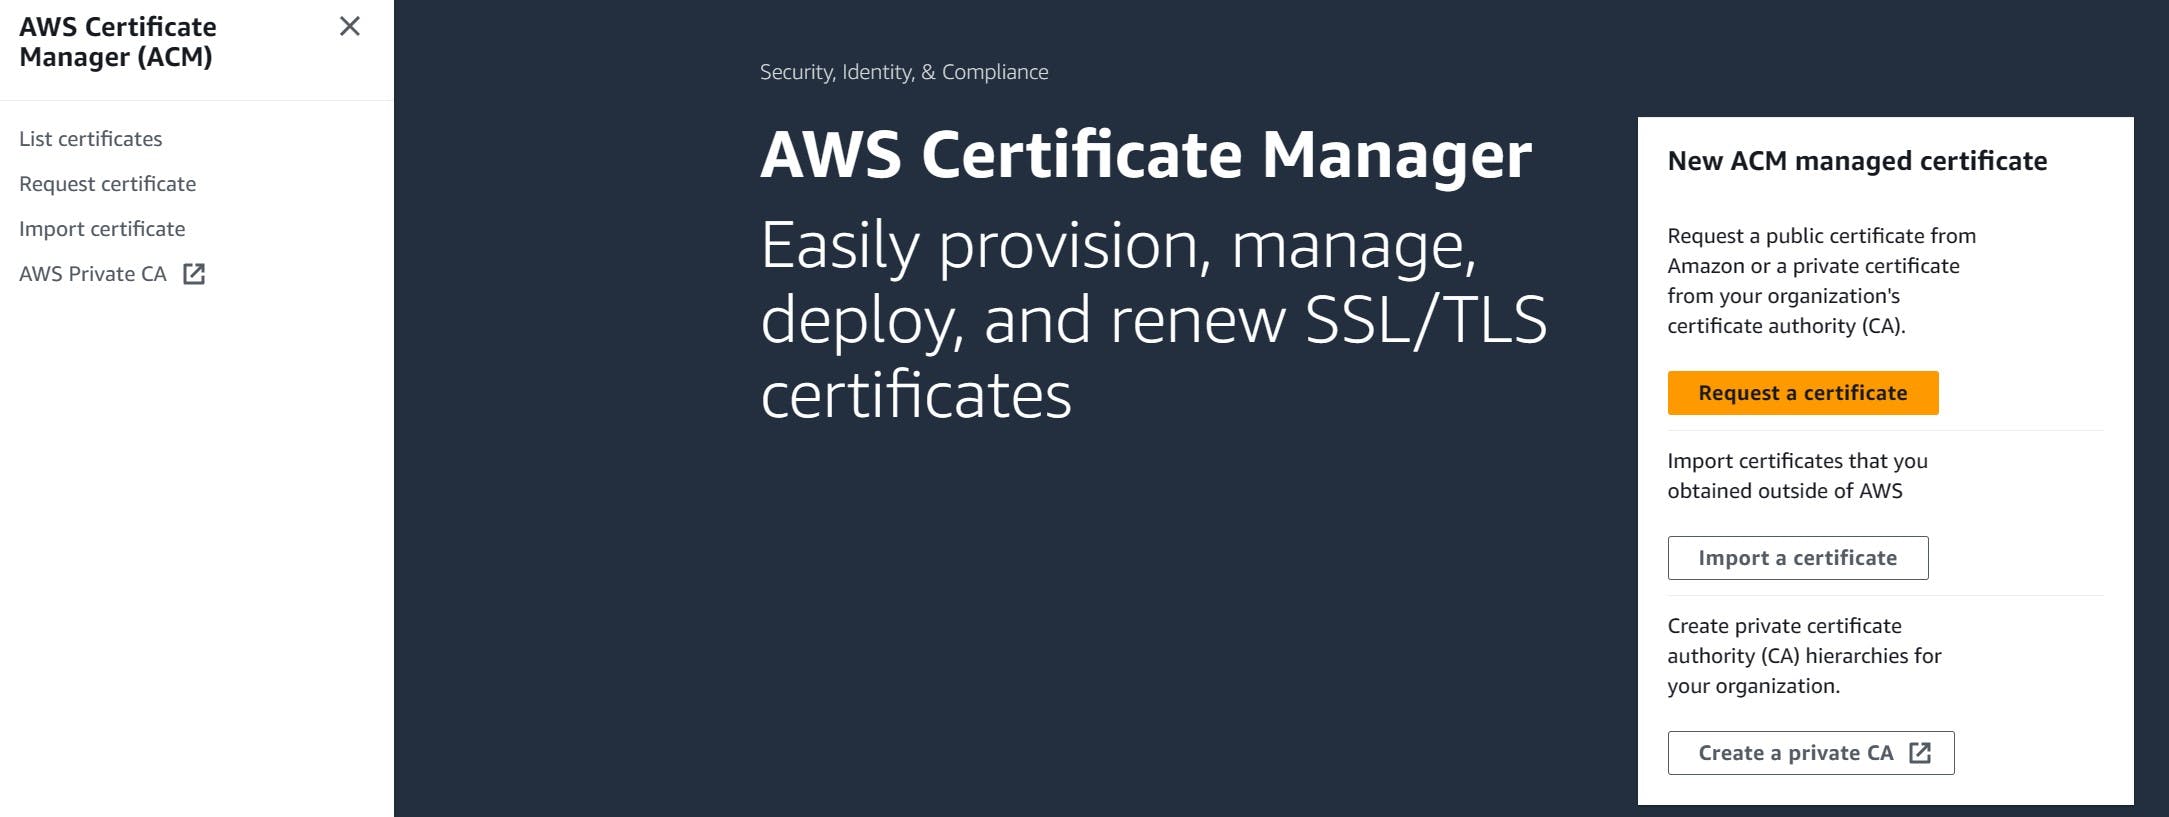
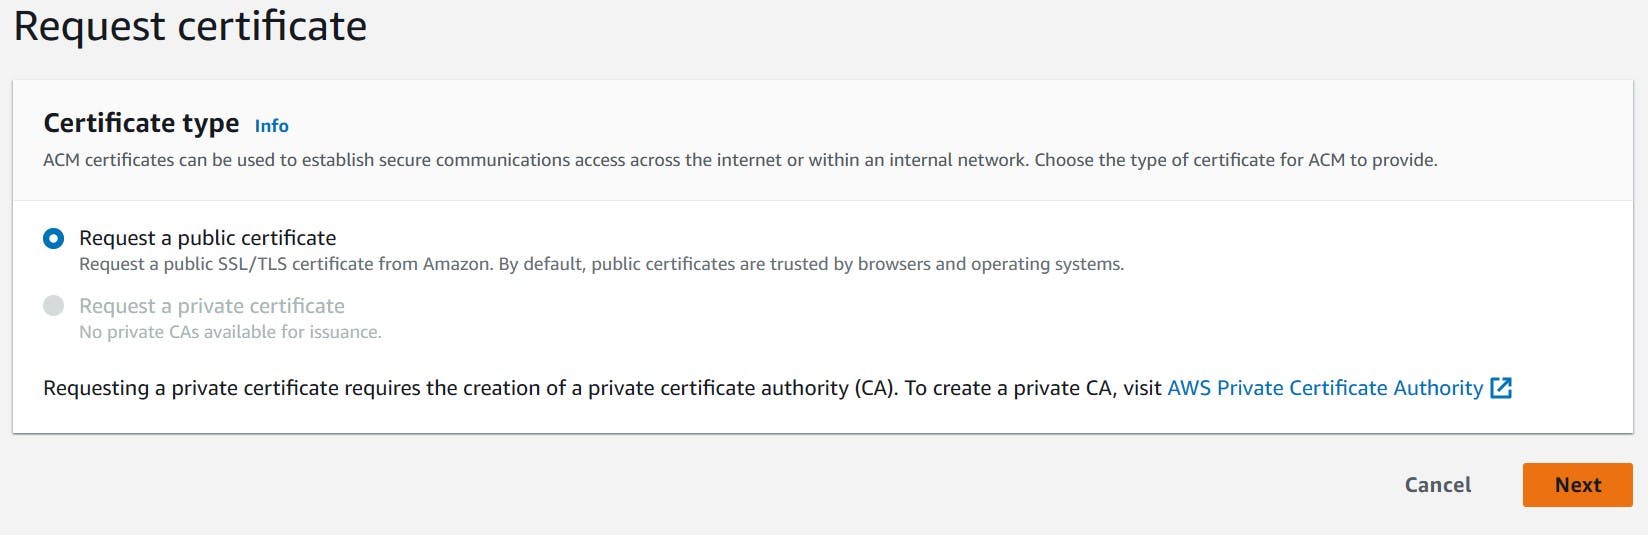
- Request a public certificate
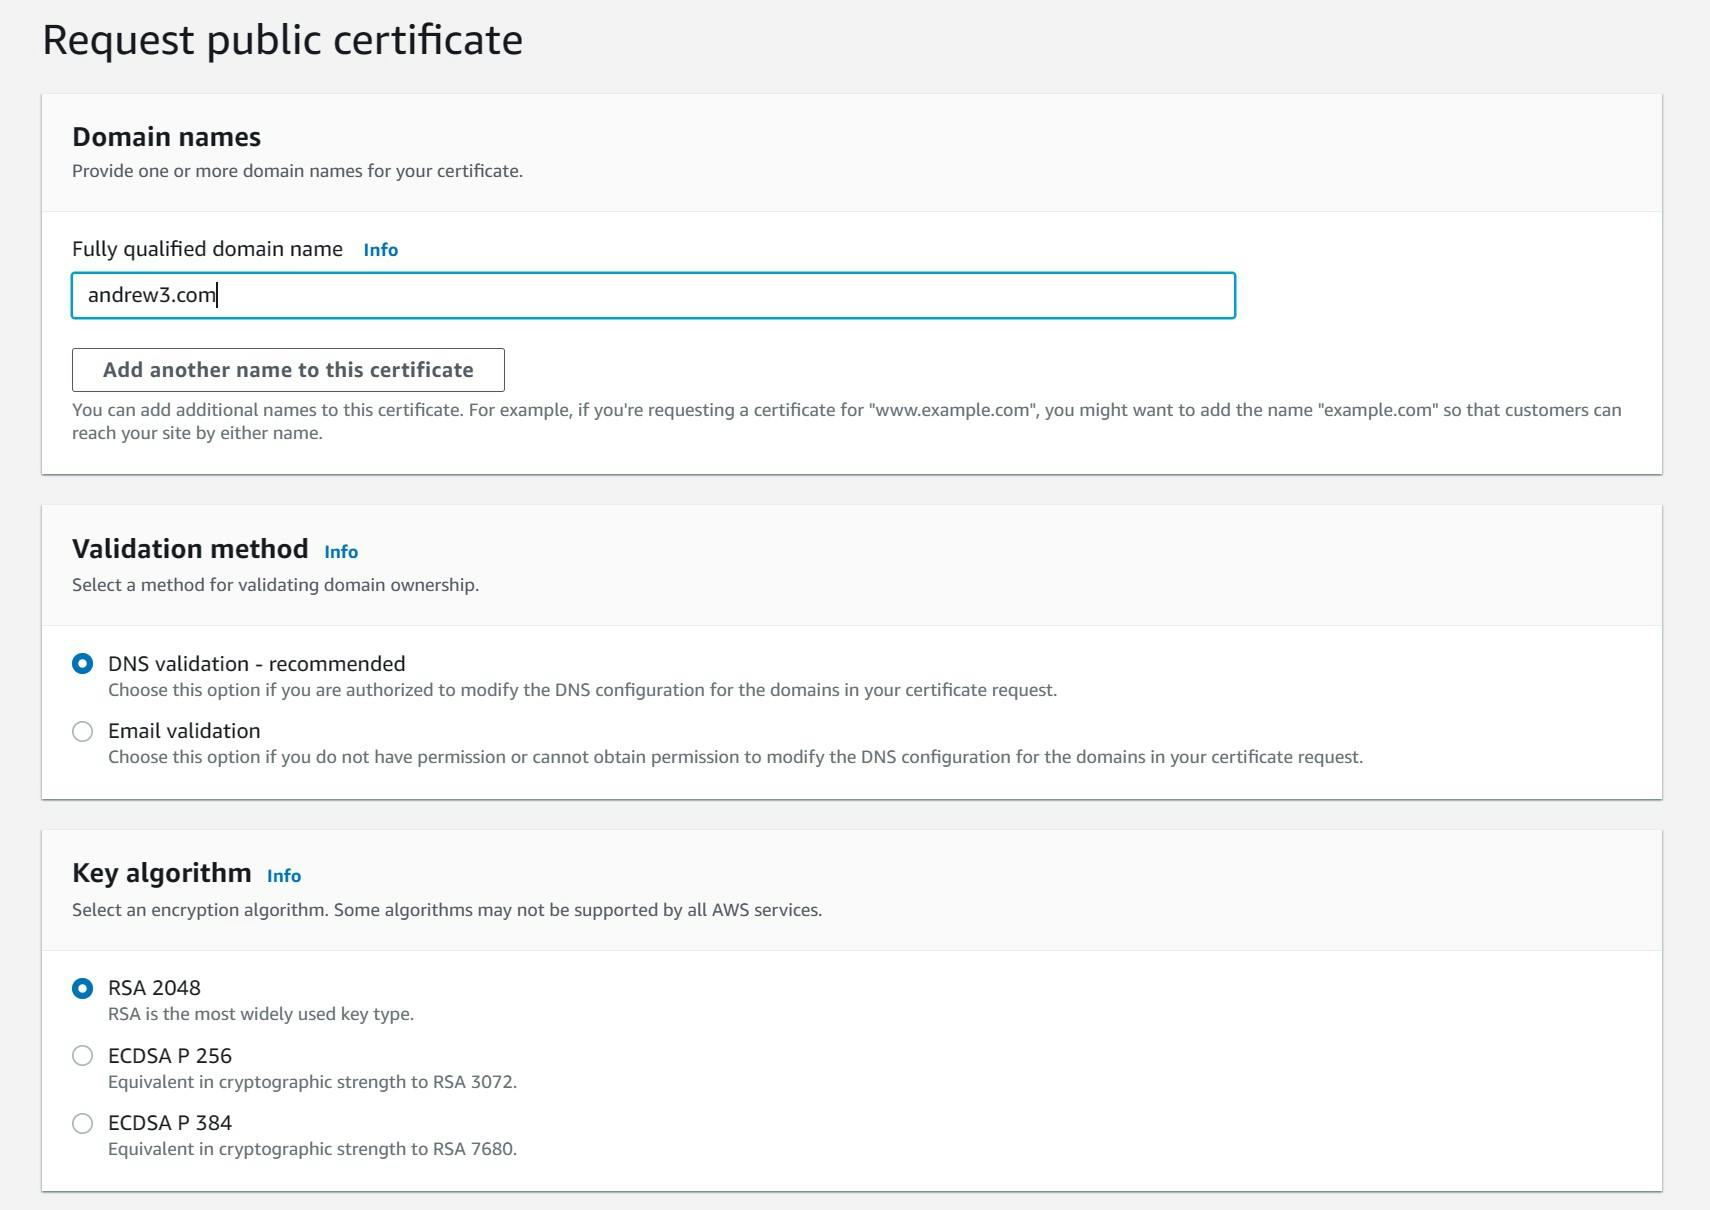
- Enter the name of the domain under "Fully qualified domain name". What is written in this box, will be configured to have an SSL certificate attached to it by the end of this configuration. As of now, andrew3.com is unsecured but it will be secure if searched for at the end of this tutorial. All other settings are kept the same. Afterward, create the certificate.
CloudFront Configurations
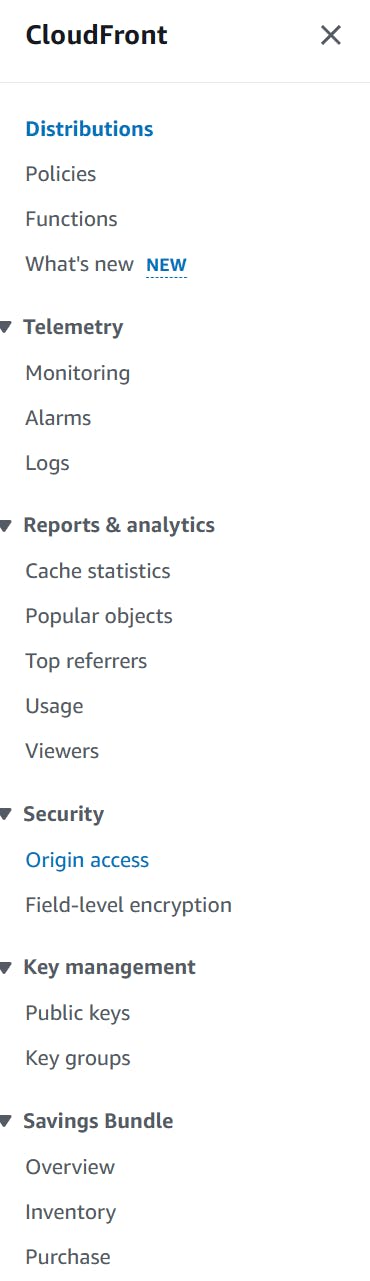
- Create a CloudFront Origin Access Identity (OAI) (6). An OAI allows to connect a S3 bucket to CloudFront. In the sidebar, under "Security" click "Origin Access"
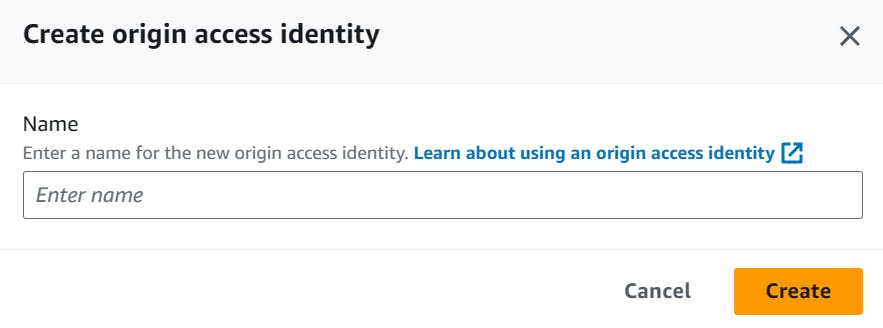
- Under "Identities (legacy)" click "Create origin access Identity".

- Enter a name for the Origin Access Identity:
- Next, go to CloudFront's Distributions and "Create distribution"

- Choose the website that has the distribution
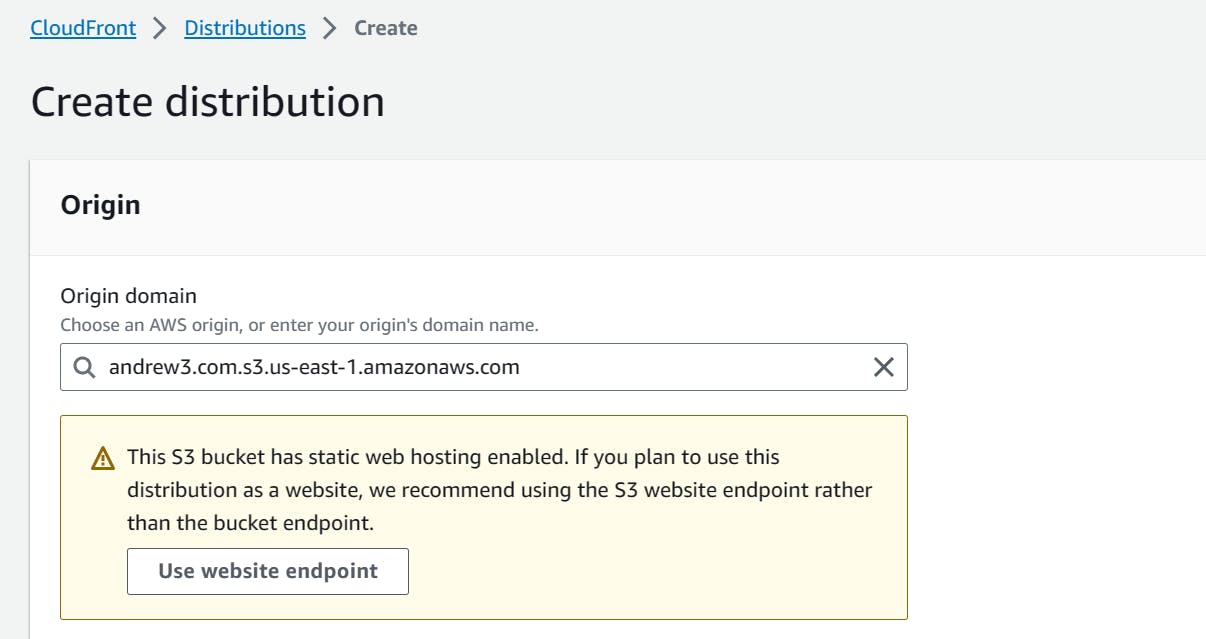
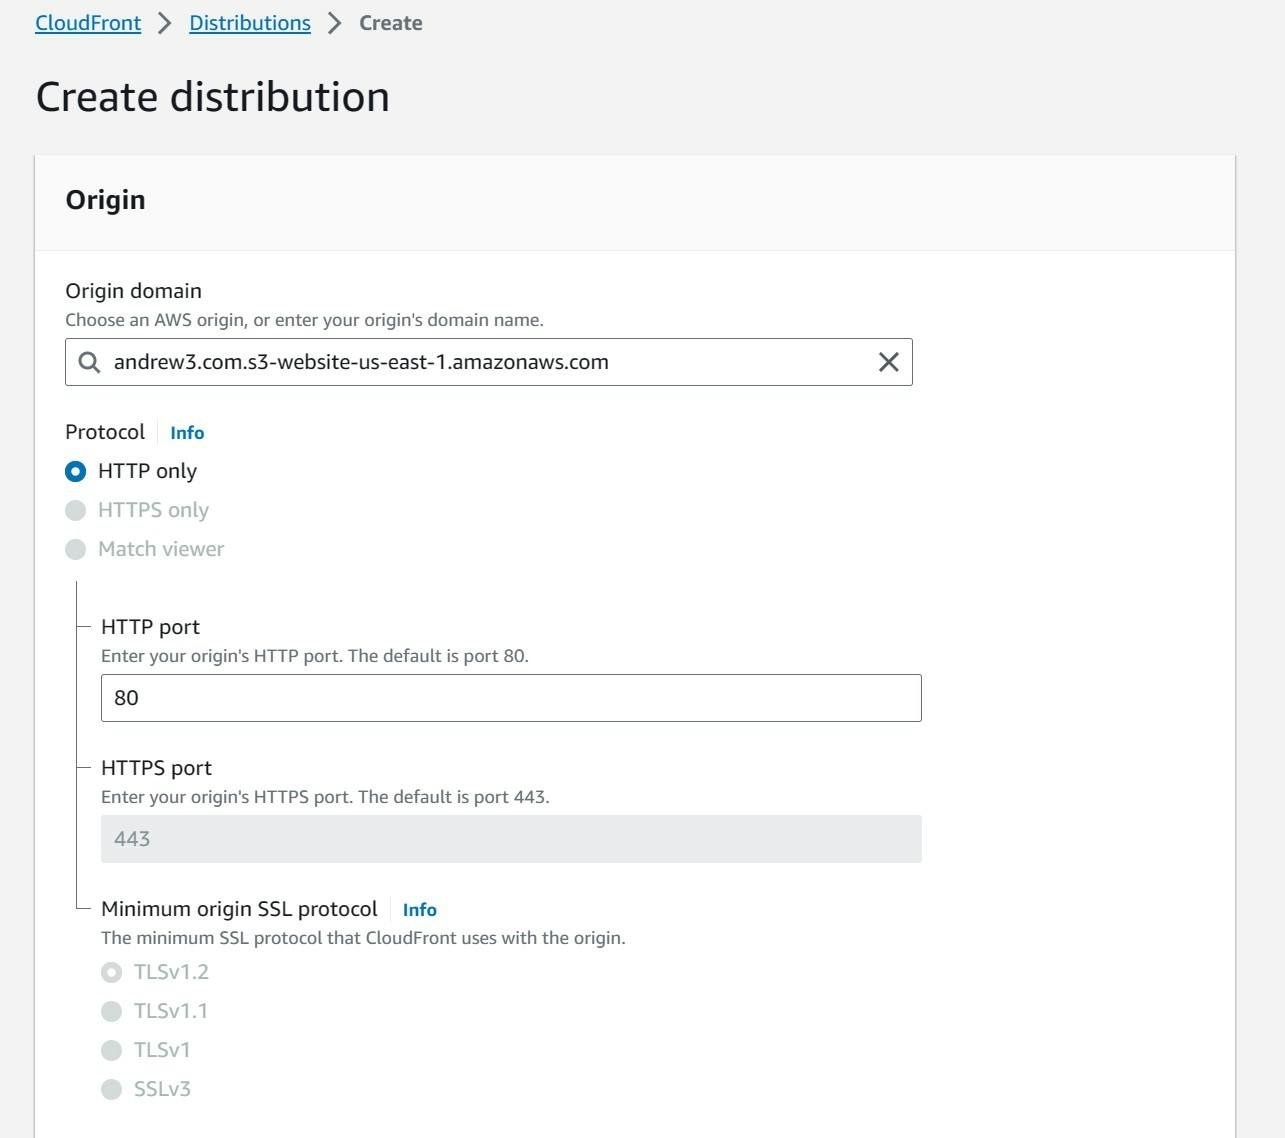
- Select "Use website endpoint" since it is recommended to use this rather than the S3 website endpoint
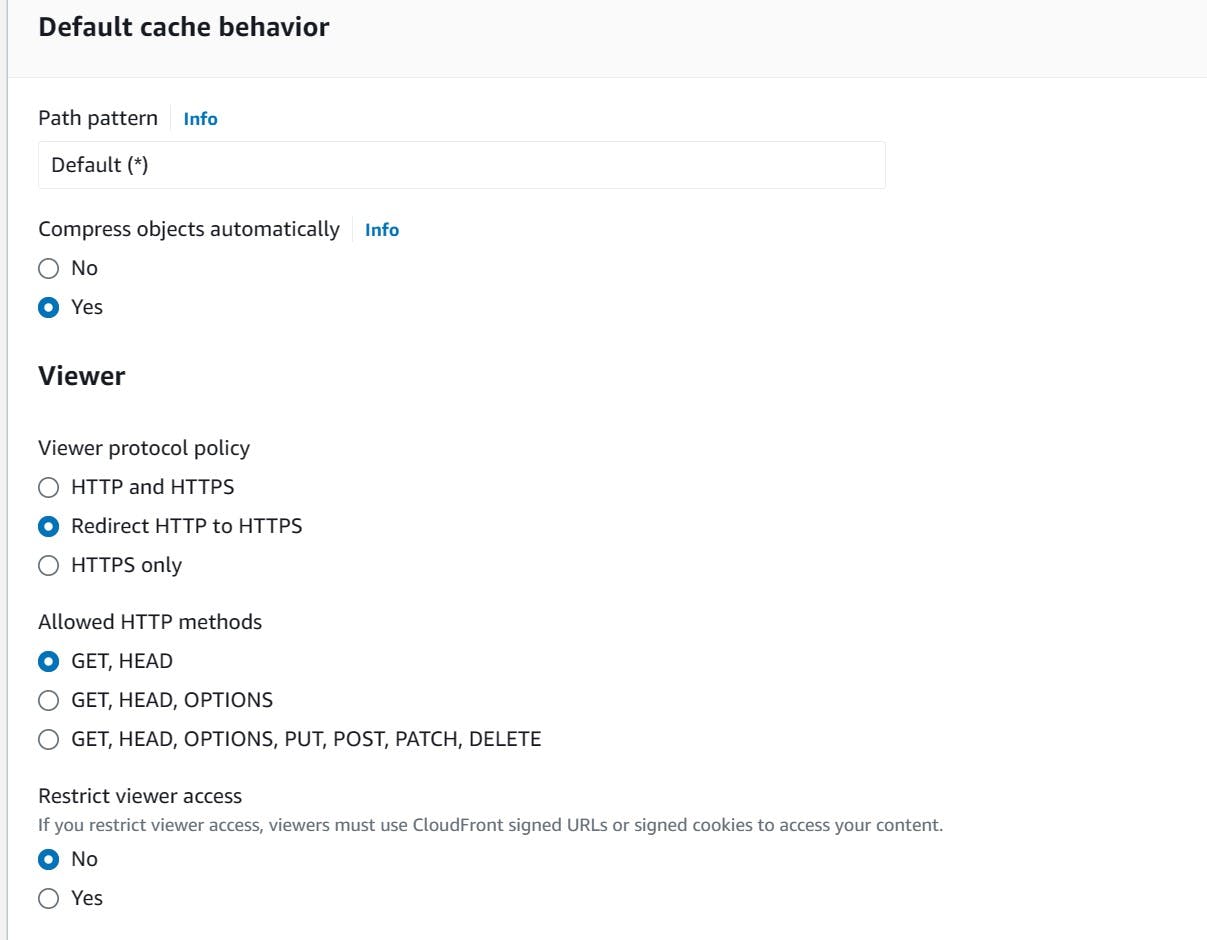
- Under "Viewer", select "Redirect HTTP to HTTPS"
- A "Cache policy" must be selected. The recommended option is "CachingOptimized" though there are more options to choose from or create one from scratch to use instead.

- Select whether to activate Web Application Firewall or WAF and under settings, write the name of the domain under "Alternate domain name (CNAME)" - optional and choose the certificate that has the same name as the domain for "Custom SSL certificate".
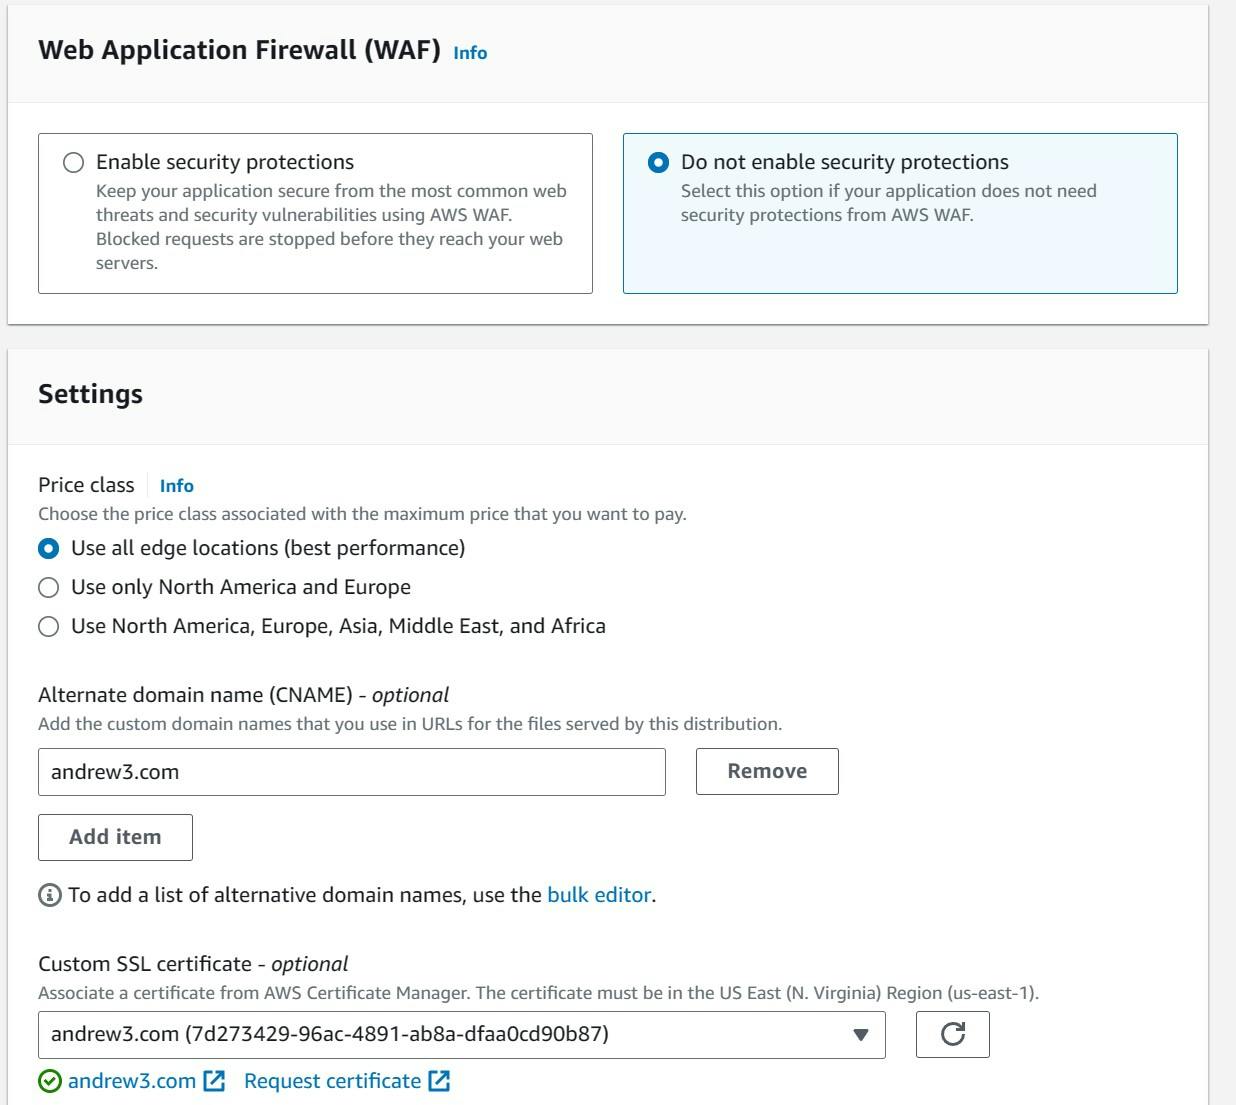
After making these changes, select "Create Distribution" at the bottom of the page
After making a distribution, the distribution domain name is created
To see if the distribution is working, the files in the bucket can be accessed with the following format:
https://distribution_domain_name/file.extension
Homepage:
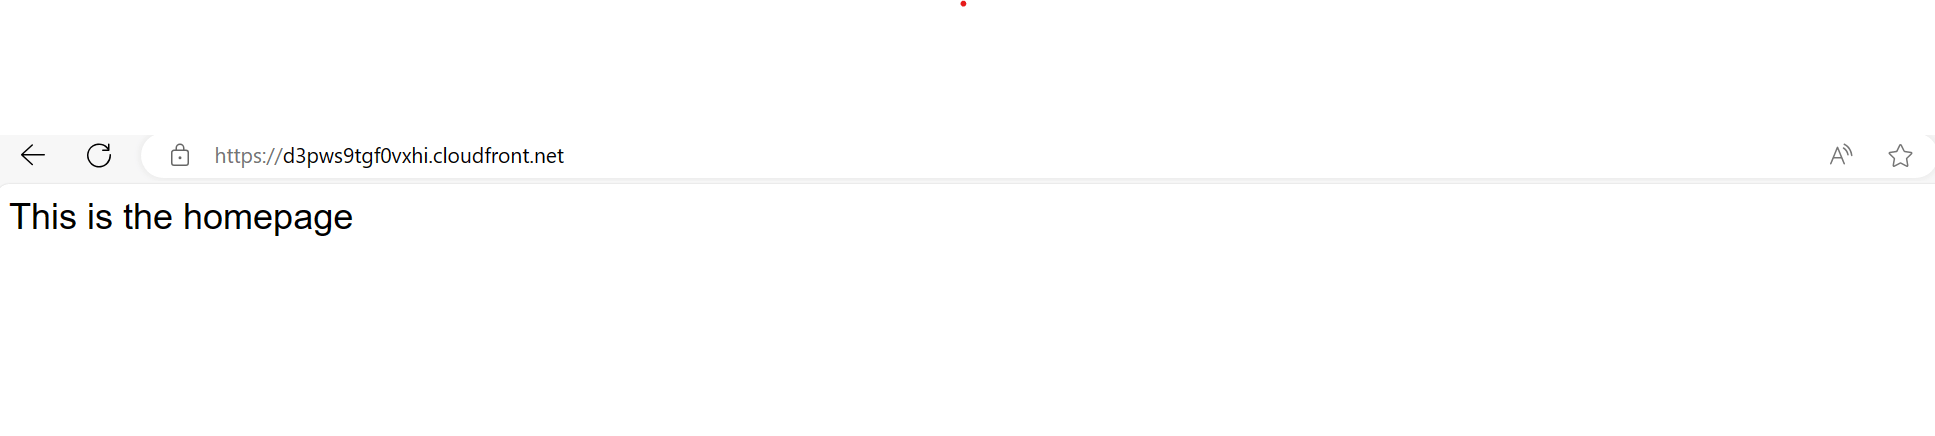
index.html:

error.html:

Configuring the SSL Certificate
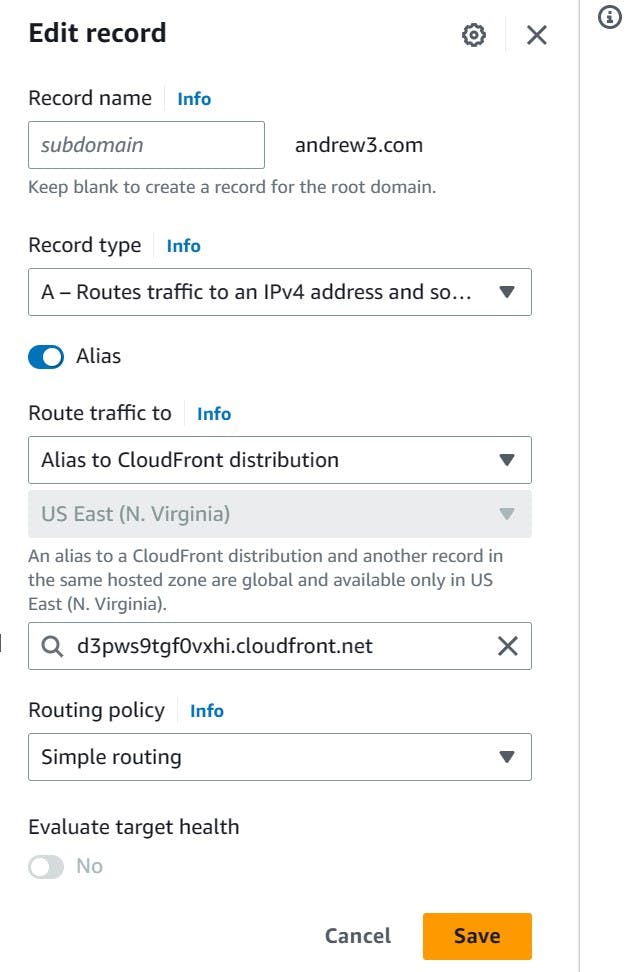
In Route 53, go back to the registered domain and edit "Route traffic to" by choosing the option from "Alias to CloudFront distribution". It should recognize any CloudFront distributions that are in the same region as the domain. After saving, the website should be deployed with a SSL certificate.
Homepage:

index.html:

error.html:

Source Code
https://github.com/AndrewDass1/TUTORIALS/tree/main/AWS/S3/Use%20s3%20and%20Enable%20Static%20Hosting
Sources
https://aws.amazon.com/route53/ (1)
https://docs.aws.amazon.com/AmazonS3/latest/userguide/Welcome.html (2)
https://aws.amazon.com/certificate-manager/ (4)
https://docs.aws.amazon.com/AmazonCloudFront/latest/DeveloperGuide/Introduction.html (5)