


Overview
This article will explain how to make a CRUD application in Python by using the Flask microframework. CRUD stands for CREATE, READ, UPDATE and DELETE data. This application constantly updates a variable called "dictionary" that contains a dictionary data type using CRUD.
Materials or Software Used
Computer
IDE
Python
- Python Modules: Flask, pickle, time, os, flask_apscheduler
HTML5
Procedure
Step 1: Make the Python Flask File
To begin developing the app, a Python file is needed to run Flask and other modules. Declare a Python file with the flask modules: Flask, render_template, request, and APScheduler. Other Python modules that are also needed are pickle, time and os.
from flask import Flask, render_template, request
import pickle, time, os
from flask_apscheduler import APScheduler

app = Flask(__name__)

global dictionary
dictionary = {}
file = open("dictionary_file.pkl", 'wb')
pickle.dump(dictionary, file)
file.close()

execute_clear_dictionary = APScheduler()

if __name__== '__main__':
    execute_clear_dictionary.add_job(id = 'Scheduled Task', func=clear_dictionary, trigger="interval", seconds=300)
    execute_clear_dictionary.start()
    app.run(host="0.0.0.0", debug=True, port=5000)
What Each Module Does and how the Application Works
Flask - Runs the Flask microframework
Render_template - Returns HTML pages to display content from the webpages
Request - Receive and send data throughout our application
Pickle - After executing a Python script or a few commands, the data can be saved by writing it to a pickle file and can later be used to read or retrieve the saved data.
Time - Delays a sequential process from immediately occurring by a specified amount of time. This is useful as it gives time to upload the latest data to the pickle file and then execute the next command when the data has been successfully uploaded.
OS - Deletes the "dictionary_pickle.pkl" file every five minutes and recreates the file with an empty dictionary.
APScheduler - Can automatically execute a specified function. APScheduler will execute a function called "clear_dictionary()" to delete and recreate the "dictionary_file.pkl".
The additional lines of code from "global dictionary" to "file.close()" are also included to initialize "dictionary" as an empty dictionary and a global variable. Many functions that are implemented in this Flask application updates this variable to display the dictionary's latest data with the CRUD commands. In Python, declaring a variable globally makes all the functions read the same data that the "dictionary" variable currently has. Every time the application starts, the "dictionary_file.pkl" is recreated with the dictionary variable that contains an empty dictionary and the file is closed afterward. The variable "execute_clear_dictionary()" uses the APScheduler module to run every five minutes to execute the specified function "clear_dictionary()" which clears any existing data in "dictionary". After declaring the variable, also specify the ".add_job()" and ".start" methods to run the scheduler. ".add_job()" also takes four parameters:
id - A classifier for the scheduler to differentiate other scheduled tasks from another if there is, more than one in a Python script
func - Give the name of the function that will be scheduled to run
trigger - Specify the keyword "interval" or "cron" to tell what schedule the function has to run
time - Specify an amount of time for, when that time has elapsed, the function runs
Editing and Reading Pickle Files
In Python, any file with any extension can be created or edited with the "open()" command. Variables can be assigned to open files to make it easier to read or write to them.
To read a file, load the name of the file that will be read and the prefix "rb":
file = open("dictionary_file.pkl", 'rb')
dictionary = pickle.load(file)
file.close()
To write to a file, specify the name of the file that will be written to and the variable that will be dumped to that file, with the prefix "wb":
file = open("dictionary_file.pkl", 'wb')
pickle.dump(dictionary, file)
file.close()
After executing a Python script, the data is not saved. By using the pickle module and making a pickle file with the extension ".pkl", these files make it possible to save the data after executing Python script. The format is to declare a variable and open in write mode by specifying 'wb'. 'rb' and 'wb' means read and write in binary respectively to either read or write new information to files in binary mode.
The pickle file must be closed after finishing reading or writing to the file, then it can be reopened again to write or read to the file. If the file does not exist, "open()" automatically creates that file in the same directory the Python script is in or the specified directory if given.
Step 2: Make the Application Home Page
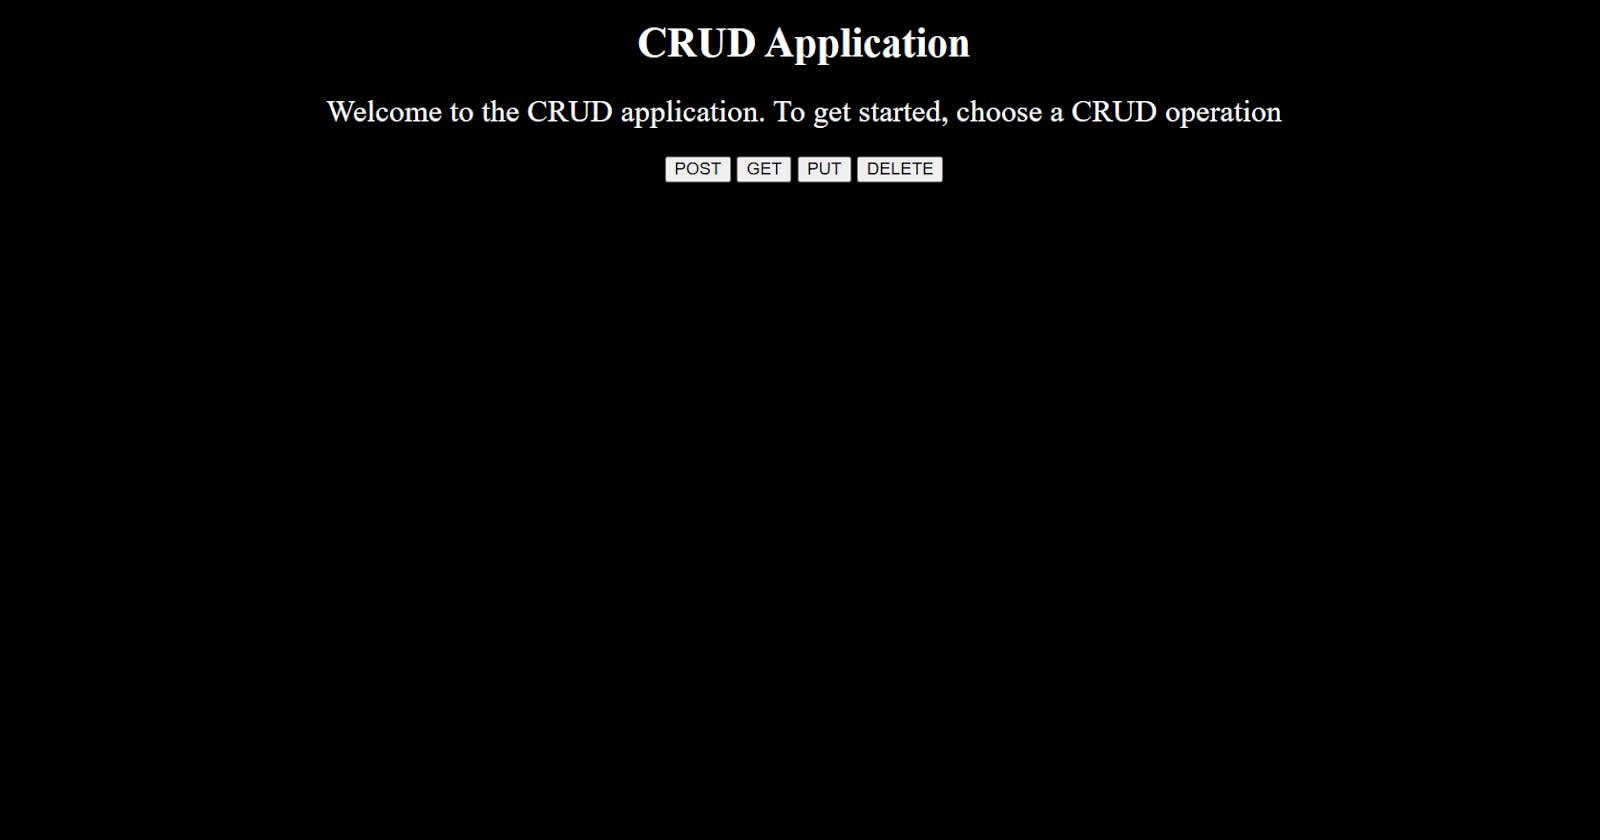
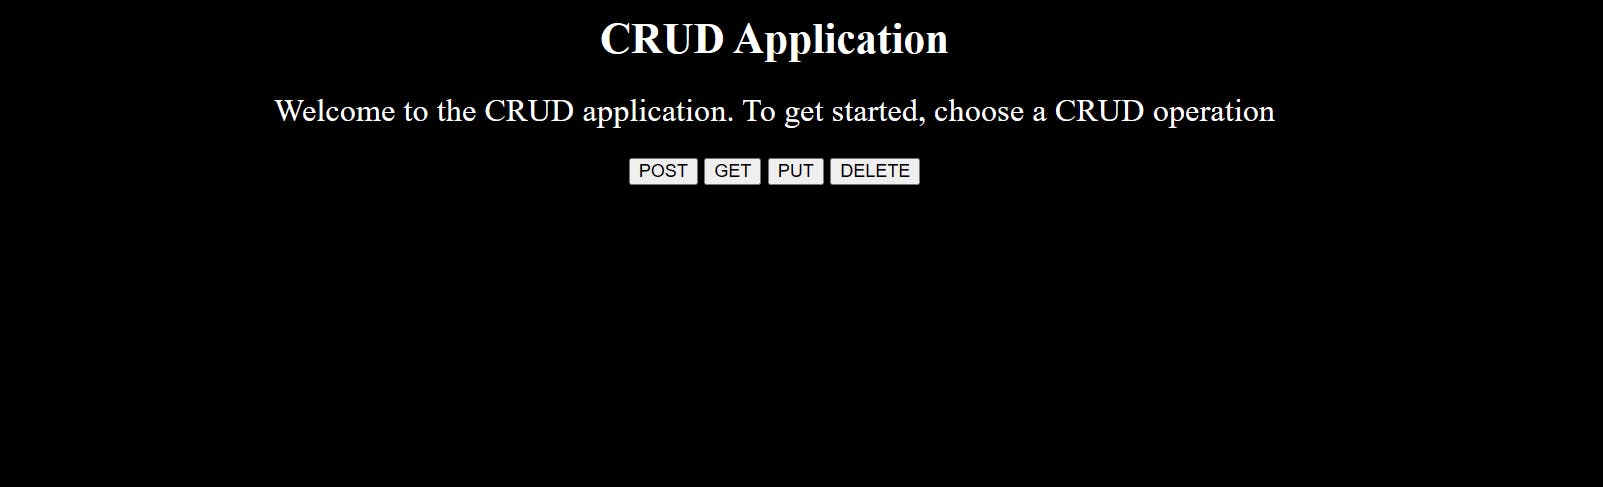
Below is the home page:
choose_crud_command.html (Home Page)
Below is the HTML source code to design the homepage or choose_crud_command.html
<!DOCTYPE html>

<html>

    <head>
        <meta charset="utf-8">
        <title>CRUD App</title>
    </head>

    <style>
        html {
            background-color: black;
            color: white;
        }

        text {
            font-size: 24px;
        }
    </style>

    <body>
        <center>
            <h1>
                CRUD Application
            </h1>
        </center>

        <center>
            <text>
                Welcome to the CRUD application. To get started, choose a CRUD operation
            </text>
        </center>

            <h3>
                <center>
                    <button onclick="window.location.replace('post_elements')">POST</button>

                    <button onclick="window.location.replace('get_page')">GET</button>

                    <button onclick="window.location.replace('put_elements')">PUT</button>

                    <button onclick="window.location.replace('delete_page')">DELETE</button>
                </center>
            </h3>

    </body>
</html>
By using the <style> tag, every HTML page background and text color has been changed to Black and White respectively. A title tag is implemented to write the title "CRUD Application", and a <text> tag was made to write "Welcome to the CRUD application" in a larger font. Four buttons were created one for each CRUD operation. By clicking one of the four buttons, it will redirect to another HTML page with further instructions on how to edit, modify, or view the data. All the text and buttons were centered with the <center> tag. Every other HTML page in this application follows a similar format with text, centering, and background formatting. Also, every other HTML page includes a button to redirect back to the home page.
To display the HTML page in Python, implement a function and use the render_template function to return the name of the HTML file that contains the content. All HTML files need to be in a folder called "templates" to display the content.
Adding the Home Page in Flask
from flask import Flask, render_template, request
import pickle, time, os
from flask_apscheduler import APScheduler

app = Flask(__name__)

global dictionary
dictionary = {}
file = open("dictionary_file.pkl", 'wb')
pickle.dump(dictionary, file)
file.close()

execute_clear_dictionary = APScheduler()

# Homepage
@app.route("/")
def crud_page():
    return render_template("/choose_crud_command.html")

if __name__== '__main__':
    execute_clear_dictionary.add_job(id = 'Scheduled Task', func=clear_dictionary, trigger="interval", seconds=300)
    execute_clear_dictionary.start()
    app.run(host="0.0.0.0", debug=True, port=5000)
Flask File Structure
As shown below, all the HTML pages are in a "templates" folder.

Step 3: Making CRUD HTML Pages
CRUD stands for Create Read Update and Delete. The four commands POST GET PUT and DELETE are used to create, read, update and delete existing data respectively in the CRUD methodology. The POST option adds new data. GET shows the data that is presently there. The PUT command adds data to the application and erases all old information to add the last entry. DELETE means to get rid of some data or entries. This CRUD application adds or deletes data one entry at a time.
Making the POST Page
By clicking the "POST" button, the HTML page will be redirected to the "post_elements.html":
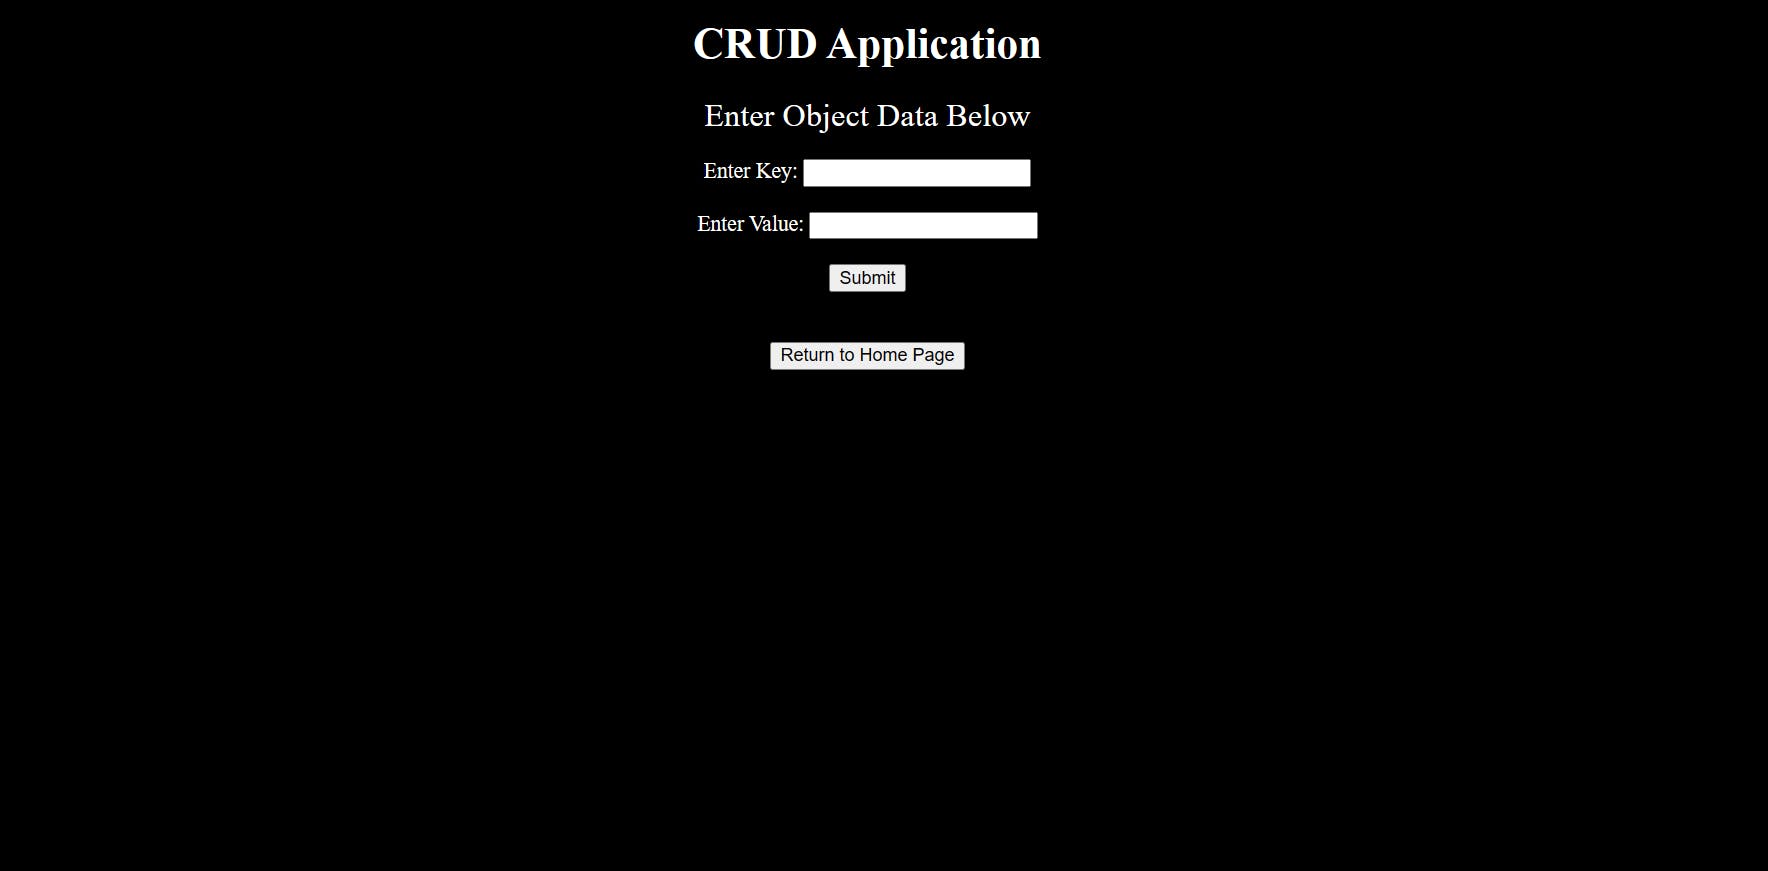
post_elements.html
Below is the content for the "post_elements.html"
<!DOCTYPE html>

<html>

    <head>
        <meta charset="utf-8">
        <title>CRUD App</title>
    </head>

    <style>
        html {
            color: white;
            background-color: black;
        }

        text {
            font-size: 24px;
        }
    </style>

    <body>
        <center> <h1> CRUD Application </h1></center>
        <center> <text> Enter Object Data Below </text> </center>
        <br>

        <form action="{{url_for('success')}}", method="post">
            <center>
                <label for="entry1">Enter Key:</label>
                <input type="text" name="entry1">

                <br>
                <br>

                <label for="entry2">Enter Value:</label>
                <input type="text" name="entry2">

                <br>
                <br>

                <input type="submit" value="Submit">

            </center>

            <br>
            <br>

        </form>

        <center> <button onclick="window.location.replace('/')">Return to Home Page</button> </center>
    </body>
</html>
The "post_elements.html" is different from the home page since a form is also included which creates the "Enter Key: " and "Enter Value: " text boxes.
Taking a Closer Look at the Form Data
<form action="{{url_for('success')}}", method="post">
            <center>
                <label for="entry1">Enter Key:</label>
                <input type="text" name="entry1">

                <br>
                <br>

                <label for="entry2">Enter Value:</label>
                <input type="text" name="entry2">

                <br>
                <br>

                <input type="submit" value="Submit">

            </center>
            <br>
            <br>
</form>
A form in HTML allows users to write information, and this information can be redirected to another place in the application to display that same data. If data is meant to be added with POST, the logic is to add data here to the HTML form in "post_elements.html", and send the data to a Flask function, where that same Flask function returns the value to save for future use or can display that data.
A form can be created with the <form> tags. The beginning <form> tag also specifies adding an action. This action sends any data to the specified Flask function. In this case, the data that will be sent to Flask will be sent directly to the Flask function named "success()". A method also has to be specified and in this case, the method is equal to POST since data is being sent to Flask. A form can create many textboxes and any data that is in the textbox, is saved as a variable that is sent to Flask. Within the "" in <label for = "", > is the placeholder to name the variable. <input type> specifies what data to pass through will be displayed. <input type="text"> creates textboxes to display and pass data to Flask. Lastly, a submit button is at the end of the form to confirm and send any written information in the text boxes to Flask.
Implement the POST and Success HTML Pages in Flask
from flask import Flask, render_template, request
import pickle, time, os
from flask_apscheduler import APScheduler

app = Flask(__name__)

global dictionary
dictionary = {}
file = open("dictionary_file.pkl", 'wb')
pickle.dump(dictionary, file)
file.close()

execute_clear_dictionary = APScheduler()

# Homepage
@app.route("/")
def crud_page():
    return render_template("/choose_crud_command.html")

# POST
@app.route("/post_elements")
def post_page():
    return render_template("/post_elements.html")

@app.route("/success", methods=['POST'])
def success():
    file = open("dictionary_file.pkl", 'rb')
    dictionary = pickle.load(file)
    file.close()

    html_data_1 = request.form["entry1"]
    html_data_2 = request.form["entry2"]
    dictionary[html_data_1] = html_data_2

    file = open("dictionary_file.pkl", 'wb')
    pickle.dump(dictionary, file)
    file.close()
    time.sleep(1)

    return render_template("/success.html", html_data_1=html_data_1, html_data_2=html_data_2)

if __name__== '__main__':
    execute_clear_dictionary.add_job(id = 'Scheduled Task', func=clear_dictionary, trigger="interval", seconds=300)
    execute_clear_dictionary.start()
    app.run(host="0.0.0.0", debug=True, port=5000)
In the "success()" function, the pickle file is first opened and saved as "file" to retrieve any existing data from the "dictionary" variable. The "dictionary" variable will be updated by the incoming HTML data and then the "dictionary.pkl" file will be updated with this information. As stated before, by using the pickle module, it is possible to read or save the data to a ".pkl" file after executing Python scripts. The format is to first declare a variable that would use "open()" a file by either reading or writing to it. 'rb' means read the file in binary mode and 'wb' means write new information to the file in binary mode.
Since two variables are being passed from HTML to Flask, they have to be declared for Flask to recall them after receiving them from HTML. In this case, these variables are called html_data_1 and html_data_2. Using the request module makes it easier to obtain the form data. "entry1" and "entry2" are specified in the [] since in the "post_elements.html" page, the variables are called entry1 and entry2. Two variables are needed to pass to Flask since the first variable is the key and the second variable is the value for the dictionary. Writing the line "dictionary[html_data_1] = html_data_2" will update the "dictionary" variable with the latest key and value pair data. After executing commands in Python, the variable data is usually not saved.
To save variables in the pickle file, dump the variable that is wanted to the variable that opened the file. After opening any file, always close it to consume less RAM. html_data_1 and html_data_2 are redeclared to be passed through and displayed on the HTML page. After pressing the submit button in "post_elements.html", there will be a slight delay due to "time.sleep(1)". The number in parenthesis specifies a delay in seconds between consecutive actions. Here, the application will take one second to upload the data to the pickle file and then redirect to the "success.html" page, stating the data has been added and updated.
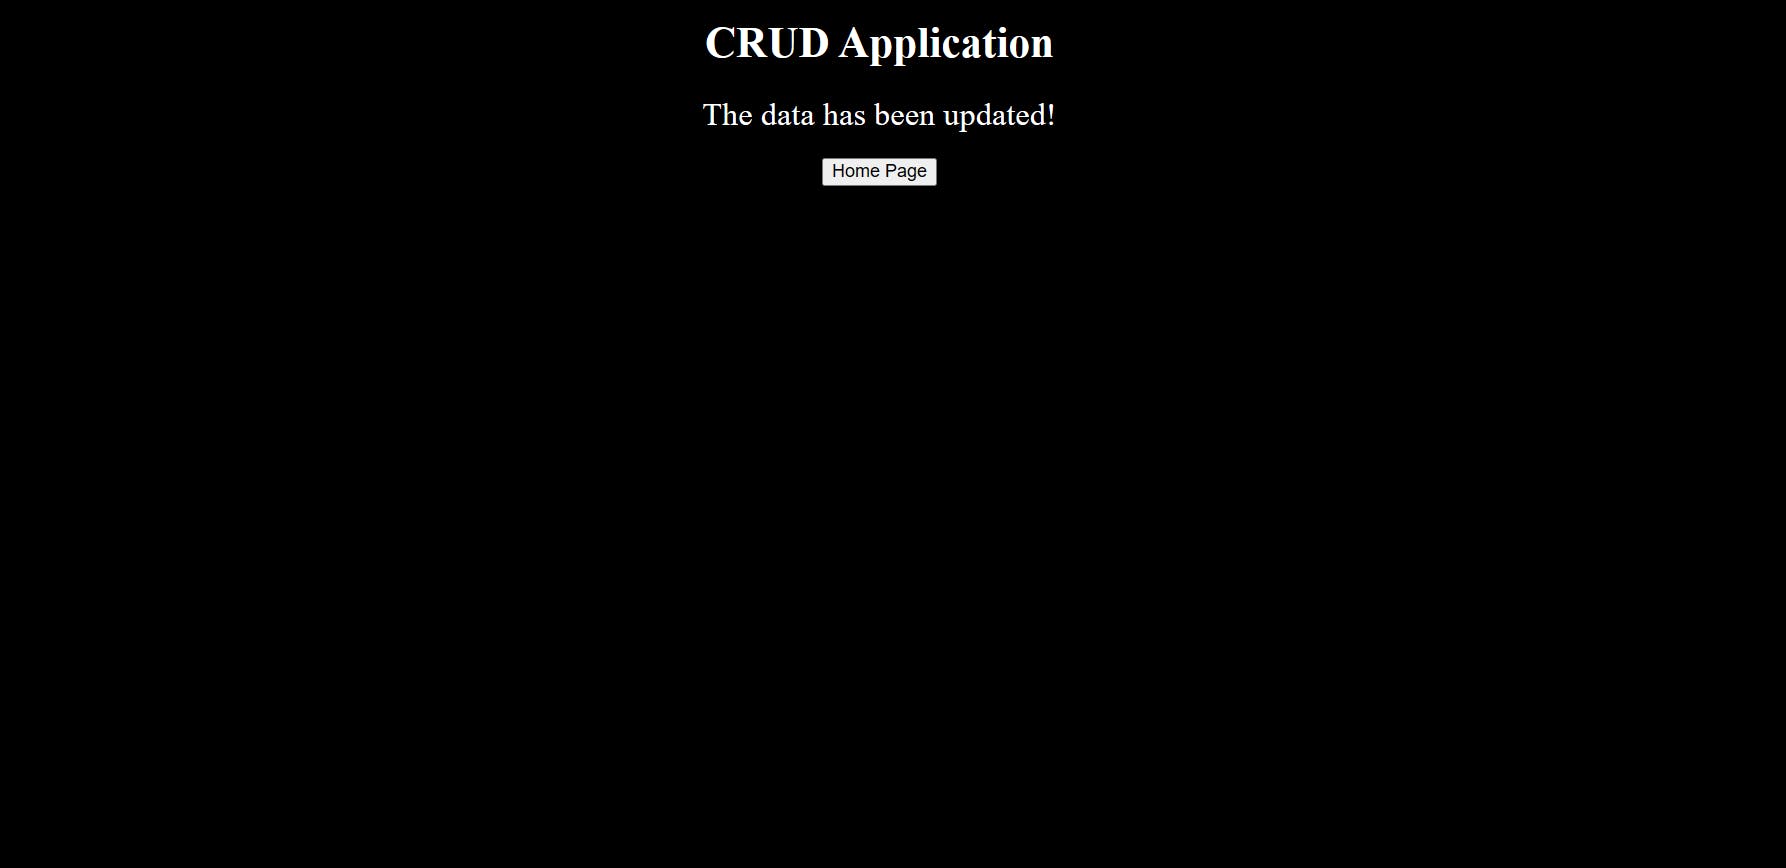
Below is the source code for "success.html"
success.html
<!DOCTYPE html>

<html>
    <head>
        <style>
            html {
                color: white;
                background-color: black;
            }

            text {
                font-size: 24px;
            }
        </style>
    </head>

    <body>
        <center> <h1> CRUD Application </h1></center>

        <center> <text> The data has been updated! </text>
        <br>
        <br>

        <center> <button onclick="window.location.replace('/')">Home Page</button> </center>
    </body>
</html>
Making the PUT Page
Creating and implementing the put page is similar to the post page. Put erases all existing content within the dictionary and replaces it with the latest entry. This is done by adding a new function to reroute the home page "PUT" button to the put_elements.html page. The Flask function "add_put_elements()" overwrites the "dictionary" variable as an empty dictionary, updates the "dictionary_file.pkl" by clearing any existing data, then the latest entry from the HTML request will be added afterward. put_elements.html is also rerouted to and updates the dictionary data within the Flask success function.
from flask import Flask, render_template, request
import pickle, time, os
from flask_apscheduler import APScheduler

app = Flask(__name__)

global dictionary
dictionary = {}
file = open("dictionary_file.pkl", 'wb')
pickle.dump(dictionary, file)
file.close()

execute_clear_dictionary = APScheduler()

# Homepage
@app.route("/")
def crud_page():
    return render_template("/choose_crud_command.html")

# POST
@app.route("/post_elements")
def post_page():
    return render_template("/post_elements.html")

# PUT
@app.route("/put_elements")
def add_put_elements():
    dictionary = {}
    file = open("dictionary_file.pkl", 'wb')
    pickle.dump(dictionary, file)
    file.close()
    return render_template("/put_elements.html")

# Update Dictionary
@app.route("/success", methods=['POST'])
def success():
    file = open("dictionary_file.pkl", 'rb')
    dictionary = pickle.load(file)
    file.close()

    html_data_1 = request.form["entry1"]
    html_data_2 = request.form["entry2"]
    dictionary[html_data_1] = html_data_2

    file = open("dictionary_file.pkl", 'wb')
    pickle.dump(dictionary, file)
    file.close()
    time.sleep(1)

    return render_template("/success.html", html_data_1=html_data_1, html_data_2=html_data_2)

if __name__== '__main__':
    execute_clear_dictionary.add_job(id = 'Scheduled Task', func=clear_dictionary, trigger="interval", seconds=300)
    execute_clear_dictionary.start()
    app.run(host="0.0.0.0", debug=True, port=5000)
put_elements.html
<!DOCTYPE html>

<html>

    <head>
        <meta charset="utf-8">
        <title>CRUD App</title>
    </head>

    <style>
        html {
            color: white;
            background-color: black;
        }

        text {
            font-size: 24px;
        }
    </style>

    <body>
        <center> <h1> CRUD Application </h1></center>
        <center> <text> Enter Object Data Below </text> </center>
        <br>

        <form action="{{url_for('success')}}", method="post">
            <center>
                <label for="entry1">Enter Key:</label>
                <input type="text" name="entry1">

                <br>
                <br>

                <label for="entry2">Enter Value:</label>
                <input type="text" name="entry2">

                <br>
                <br>

                <input type="submit" value="Submit">

            </center>

            <br>
            <br>

        </form>

        <center> <button onclick="window.location.replace('/')">Return to Home Page</button> </center>
    </body>
</html>
Making the GET Page
Below is the implementation and rerouting of the GET page in Flask
from flask import Flask, render_template, request
import pickle, time, os
from flask_apscheduler import APScheduler

app = Flask(__name__)

global dictionary
dictionary = {}
file = open("dictionary_file.pkl", 'wb')
pickle.dump(dictionary, file)
file.close()

execute_clear_dictionary = APScheduler()

# Homepage
@app.route("/")
def crud_page():
    return render_template("/choose_crud_command.html")

# POST
@app.route("/post_elements")
def post_page():
    return render_template("/post_elements.html")

# PUT
@app.route("/put_elements")
def add_put_elements():
    dictionary = {}
    file = open("dictionary_file.pkl", 'wb')
    pickle.dump(dictionary, file)
    file.close()
    return render_template("/put_elements.html")

# Update Dictionary
@app.route("/success", methods=['POST'])
def success():
    file = open("dictionary_file.pkl", 'rb')
    dictionary = pickle.load(file)
    file.close()

    html_data_1 = request.form["entry1"]
    html_data_2 = request.form["entry2"]

    dictionary[html_data_1] = html_data_2

    file = open("dictionary_file.pkl", 'wb')
    pickle.dump(dictionary, file)
    file.close()

    return render_template("/success.html", html_data_1=html_data_1, html_data_2=html_data_2)

# GET
@app.route("/get_page")
def the_get_page():
    file = open('dictionary_file.pkl', 'rb')
    retrieve_dictionary = pickle.load(file)
    file.close()

    return render_template("/get_page.html", retrieve_dictionary=retrieve_dictionary)

if __name__== '__main__':
    execute_clear_dictionary.add_job(id = 'Scheduled Task', func=clear_dictionary, trigger="interval", seconds=300)
    execute_clear_dictionary.start()
    app.run(host="0.0.0.0", debug=True, port=5000)
After clicking the GET button on the home page, it is rerouted to the "the_get_page" function. This function opens the pickle file with 'rb', which stands for read binary to read the file in binary mode. The pickle file is declared as the variable "retrieve_dictionary" which is then sent to the "get_page.html" page.
get_page.html
<!DOCTYPE html>
<html>

    <head>
        <meta charset="utf-8">
        <title> CRUD App </title>
    </head>

    <style>
        html {
            color: white;
            background-color: black;
        }

        text {
            font-size: 24px;
        }
    </style>

    <body>

        <center> <h1>CRUD Application</h1> </center>
        <center> <text>The Current Dictionary Values</h2></text> </center>

        <p> dictionary = {{retrieve_dictionary}} </p>

        <br>

        <center> <button onclick="window.location.replace('/')">Return to Home Page</button> </center>
    </body>

</html>
Making the Delete Page
Below is the function to implement the delete function in Flask
from flask import Flask, render_template, request
import pickle, time, os
from flask_apscheduler import APScheduler

app = Flask(__name__)

global dictionary
dictionary = {}
file = open("dictionary_file.pkl", 'wb')
pickle.dump(dictionary, file)
file.close()

execute_clear_dictionary = APScheduler()

@app.route("/")
def crud_page():
    return render_template("/choose_crud_command.html")

# POST
@app.route("/post_elements")
def post_page():
    return render_template("/post_elements.html")

# PUT
@app.route("/put_elements")
def add_put_elements():
    dictionary = {}
    file = open("dictionary_file.pkl", 'wb')
    pickle.dump(dictionary, file)
    file.close()
    return render_template("/put_elements.html")


# Update Dictionary
@app.route("/success", methods=['POST'])
def success():
    file = open("dictionary_file.pkl", 'rb')
    dictionary = pickle.load(file)
    file.close()

    html_data_1 = request.form["entry1"]
    html_data_2 = request.form["entry2"]
    dictionary[html_data_1] = html_data_2

    file = open("dictionary_file.pkl", 'wb')
    pickle.dump(dictionary, file)
    file.close()
    time.sleep(1)

    return render_template("/success.html", html_data_1=html_data_1, html_data_2=html_data_2)

# GET
@app.route("/get_page")
def the_get_page():
    file = open('dictionary_file.pkl', 'rb')
    retrieve_dictionary = pickle.load(file)
    file.close()

    return render_template("/get_page.html", retrieve_dictionary=retrieve_dictionary)


# DELETE
@app.route("/delete_page")
def the_delete_page():
    file = open('dictionary_file.pkl', 'rb')
    retrieve_dictionary = pickle.load(file)
    file.close()

    return render_template("/delete_page.html", retrieve_dictionary=retrieve_dictionary)

@app.route("/delete_element", methods=['POST'])
def delete_element():
    file = open('dictionary_file.pkl', 'rb')
    dictionary = pickle.load(file)
    file.close()
    key = request.form["entry1"]

    if key in dictionary.keys():
        del dictionary[key]
        file = open("dictionary_file.pkl", 'wb')
        pickle.dump(dictionary, file)
        file.close()
        time.sleep(1)
        return render_template("/delete_success.html")
    else:
        return render_template("/error.html")


if __name__== '__main__':
    execute_clear_dictionary.add_job(id = 'Scheduled Task', func=clear_dictionary, trigger="interval", seconds=300)
    execute_clear_dictionary.start()
    app.run(host="0.0.0.0", debug=True, port=5000)
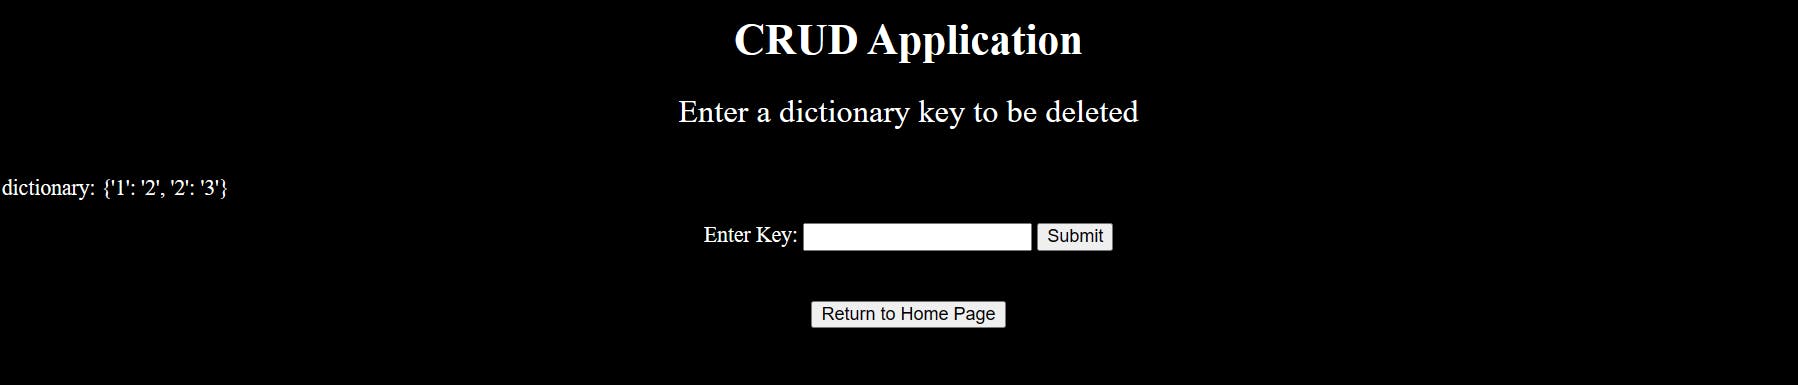
After pressing the "DELETE" button on the homepage, the function "the_delete_page()" displays the "delete_page.html". It first loads the pickle file with the dictionary's current data to show what keys and values exist. The delete page asks for a key to be deleted. After specifying what key should be deleted, it is then routed to the "delete_element()" function to see if the key exists. If it exists, the dictionary key will be deleted, the pickle file will be updated with the new dictionary and the function will display "delete_success.html", stating that the deletion was a success. If the dictionary key does not exist, the error.html page will show up stating that the key does not exist.
delete_page.html
Below is the source code for delete_page.html. A form is also implemented to return to Flask, the specified key that wants to be deleted. This data is sent to the "delete_element()" function.
<!DOCTYPE html>

<html>

    <head>
        <meta charset="utf-8">
        <title>CRUD App</title>
    </head>

    <style>
        html {
            background-color: black;
            color: white;
        }

        text {
            font-size: 24px;
        }
    </style>

    <body>
        <center>
            <h1>
                CRUD Application
            </h1>
        </center>

        <center>
            <text>
                Enter a dictionary key to be deleted
            </text>
        </center>

        <br>

    <p> dictionary: {{retrieve_dictionary}} </p>

        <form action="{{url_for('delete_element')}}", method="post">
            <center>
                <label for="entry1">Enter Key:</label>
                <input type="text" name="entry1">

                <input type="submit" value="Submit">
            </center>
        </form>

                <br>
                <br>

            <center> <button onclick="window.location.replace('/')">Return to Home Page</button> </center>

    </body>
</html>
Implementing "clear_dictionary()" Function
Below at the end of the script, the "clear_dictionary()" function has been added:
# Final Script

from flask import Flask, render_template, request
import pickle, time, os
from flask_apscheduler import APScheduler

app = Flask(__name__)

global dictionary
dictionary = {}
file = open("dictionary_file.pkl", 'wb')
pickle.dump(dictionary, file)
file.close()

execute_clear_dictionary = APScheduler()

# Homepage
@app.route("/")
def crud_page():
    return render_template("/choose_crud_command.html")

# POST
@app.route("/post_elements")
def post_page():
    return render_template("/post_elements.html")

# PUT
@app.route("/put_elements")
def add_put_elements():
    dictionary = {}
    file = open("dictionary_file.pkl", 'wb')
    pickle.dump(dictionary, file)
    file.close()
    return render_template("/put_elements.html")

# Update Dictionary
@app.route("/success", methods=['POST'])
def success():
    file = open("dictionary_file.pkl", 'rb')
    dictionary = pickle.load(file)
    file.close()

    html_data_1 = request.form["entry1"]
    html_data_2 = request.form["entry2"]
    dictionary[html_data_1] = html_data_2

    file = open("dictionary_file.pkl", 'wb')
    pickle.dump(dictionary, file)
    file.close()
    time.sleep(1)

    return render_template("/success.html", html_data_1=html_data_1, html_data_2=html_data_2)

# GET
@app.route("/get_page")
def the_get_page():
    file = open('dictionary_file.pkl', 'rb')
    retrieve_dictionary = pickle.load(file)
    file.close()
    return render_template("/get_page.html", retrieve_dictionary=retrieve_dictionary)


# DELETE
@app.route("/delete_page")
def the_delete_page():
    file = open('dictionary_file.pkl', 'rb')
    retrieve_dictionary = pickle.load(file)
    file.close()

    return render_template("/delete_page.html", retrieve_dictionary=retrieve_dictionary)

@app.route("/delete_element", methods=['POST'])
def delete_element():
    file = open('dictionary_file.pkl', 'rb')
    dictionary = pickle.load(file)
    file.close()
    key = request.form["entry1"]

    if key in dictionary.keys():
        del dictionary[key]
        file = open("dictionary_file.pkl", 'wb')
        pickle.dump(dictionary, file)
        file.close()
        time.sleep(1)
        return render_template("/delete_success.html")
    else:
        return render_template("/error.html")

def clear_dictionary():
    os.remove("dictionary_file.pkl")
    dictionary = {}
    file = open("dictionary_file.pkl", 'wb')
    pickle.dump(dictionary, file)
    file.close()

if __name__== '__main__':
    execute_clear_dictionary.add_job(id = 'Scheduled Task', func=clear_dictionary, trigger="interval", seconds=300)
    execute_clear_dictionary.start()
    app.run(host="0.0.0.0", debug=True, port=5000)
Unlike the other functions, it is not configured to an "@app.route" since this function is only meant to run in the background and not return an HTML page with it.
Demonstration of the CRUD Application
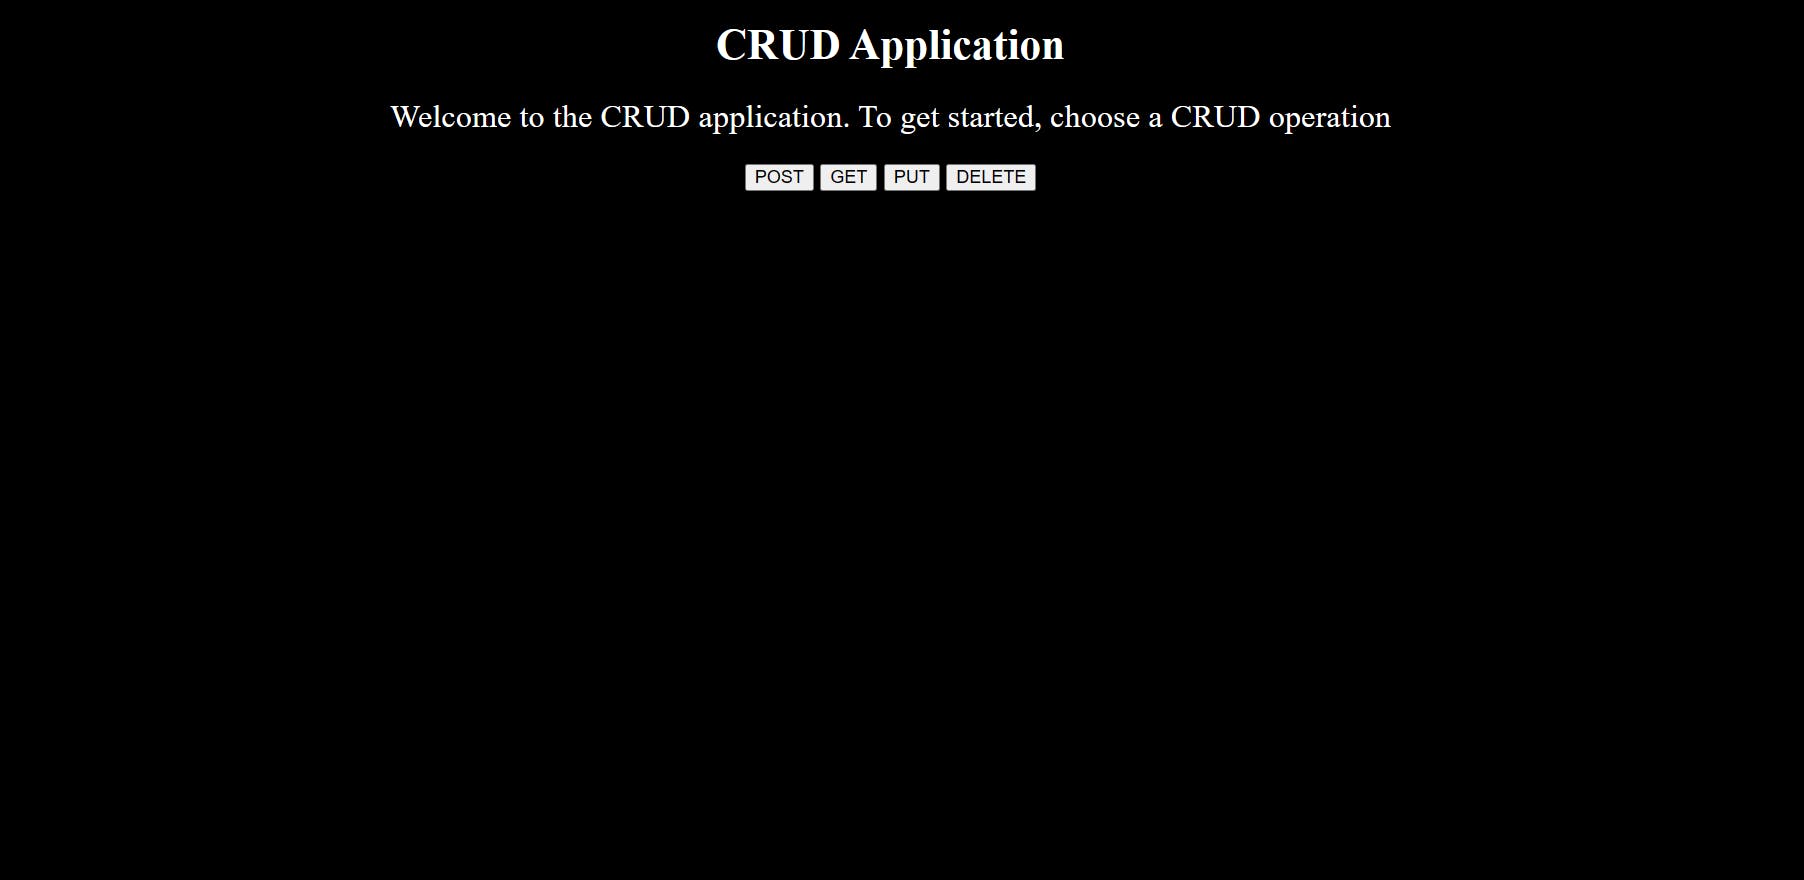
The homepage:
By starting the app, the dictionary will be empty. Even after pressing "GET", it will show an empty dictionary:

Add values with POST:


Afterward, click Submit

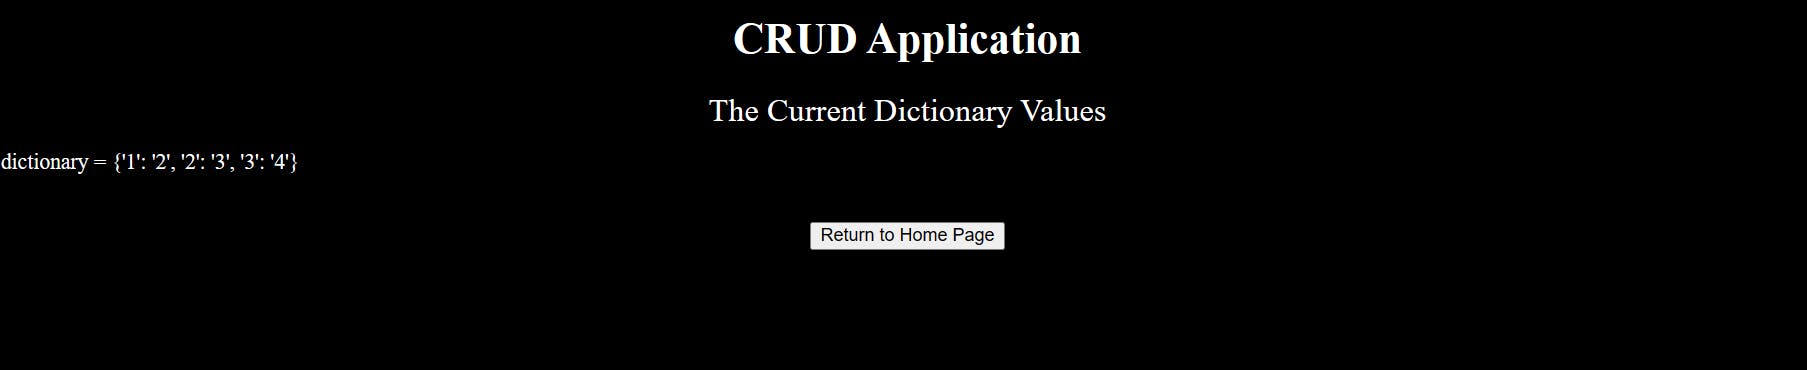
Now GET the data

More values can keep being added with POST. A few more keys and values are added:
If there are any unwanted keys, they can now be deleted. Go to "DELETE".
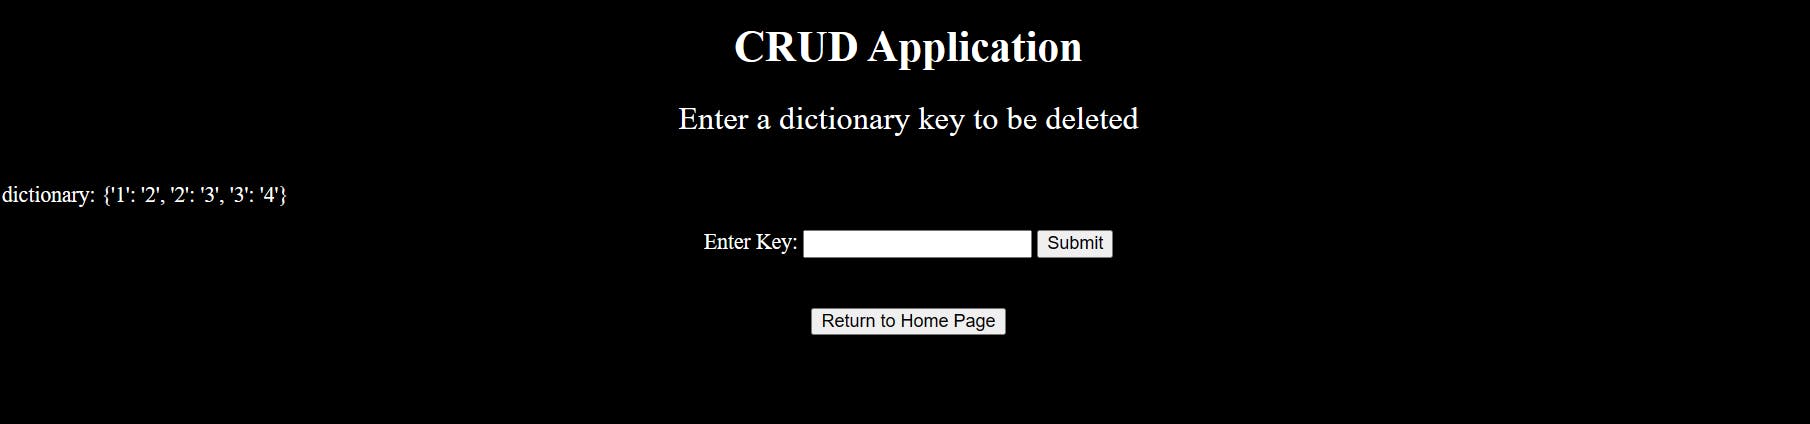
The delete page also shows the current dictionaries' keys and values to show what key exists to be selected and deleted.
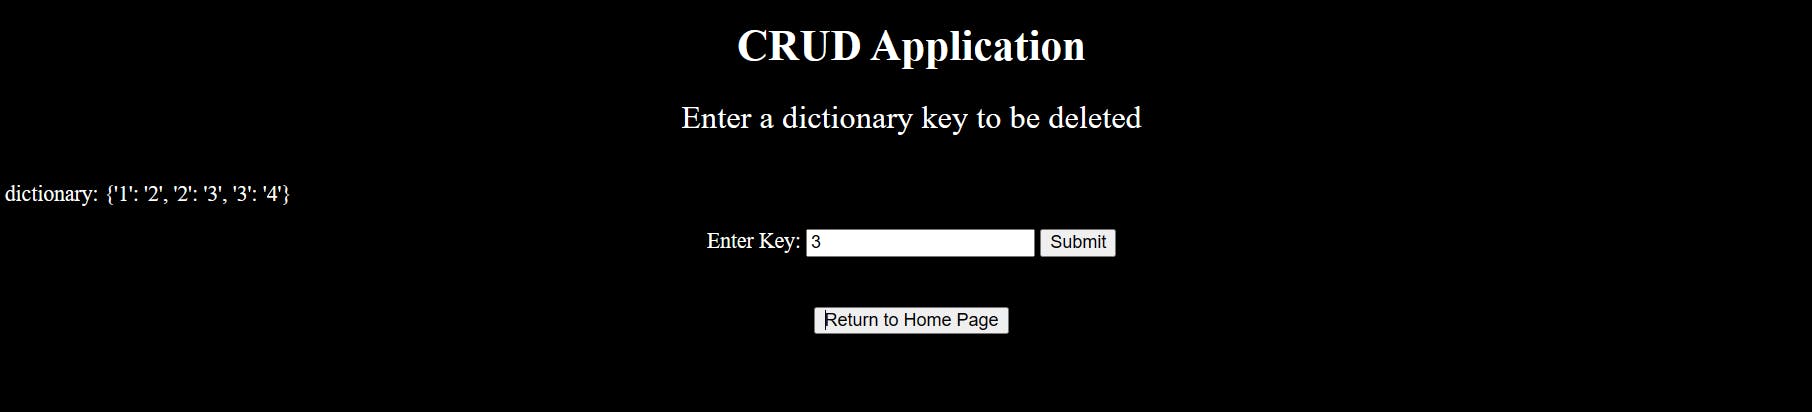
Click "Submit". The deletion should have been successful.

Now either going to "GET" or "DELETE" will display the dictionary without the key 3 and value 4 data anymore.

To "PUT" data, press put. The same page appears as the POST page, however, what data is entered here, replaces all previous entries in the dictionary.


After clicking "Submit", the data has been updated

By going to "GET", only the PUT entry now remains

Every five minutes, the application also deletes any existing data in the dictionary
Try the Application
The CRUD application can be accessed online here, and the data is reset every three minutes:
https://www.andrewdass.com/crud_page
Source Code
https://github.com/AndrewDass1/PROJECTS/tree/main/Project%20%233:%20CRUD%20Application